


In This Article Show
Safe driving is paramount, and every component of your vehicle contributes to it in one way or another. One such component, often overlooked until it malfunctions, is your tail light. Yes, that humble pair of lights at the back of your vehicle, signaling your presence to those behind you.
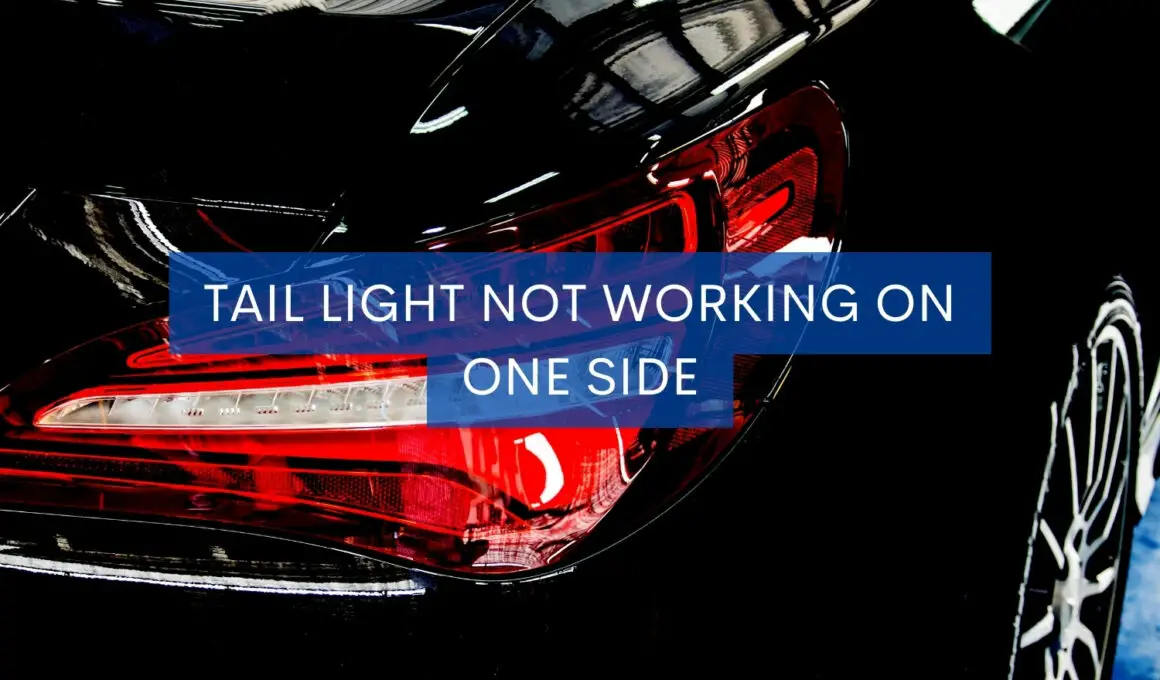
Imagine the confusion and potential danger if one side stops working. That’s what we’re addressing today: the head-scratching issue of one-side tail light failure.
In my years of practical work, tail light issues have been a common concern among drivers. And it’s no wonder they’re crucial for safety, especially when visibility is low.
But what causes the puzzling phenomenon of one tail light not working while the other operates just fine? And more importantly, how can you fix it? Whether you’re a driver seeking to understand why you’ve been pulled over for a faulty tail light or you’re an amateur mechanic with a passion for DIY car repairs, this post is for you.
What is a Tail Light and How Does it Work?
You’ve seen them countless times, those pairs of red lights staring back at you from the vehicle ahead. But what exactly is a tail light, and how does it function?
A tail light, often referred to as a rear light, is a safety light at the back of a vehicle. It’s designed to illuminate in red whenever the front headlights are switched on, whether during the night or in conditions of low visibility like fog or heavy rain. This allows other drivers to spot your vehicle from a distance, ensuring they maintain a safe distance.
The operation of tail lights is tied to several components of your vehicle – let’s demystify them. At the heart of every tail light is the bulb, typically a halogen or LED one, which illuminates when powered.
That power is supplied via wiring that connects the bulb to your car’s electrical system. A tail light fuse acts as a safety device in this wiring, designed to blow and break the circuit if there’s an excessive current, preventing potential damage to the bulb or wiring.
Then there’s the tail light socket, a crucial connector where the bulb is inserted.
Finally, there’s the control switch, typically a part of your vehicle’s main light switch, which controls the operation of the tail lights. When you turn on the switch, current flows through the wiring, through the fuse, into the bulb through the socket, and voila! Your tail light comes alive.
As you can see, a tail light might seem simple, but it’s a product of some clever engineering. Like your car’s engine or brakes, it must function correctly to ensure safe driving. That’s why when one tail light goes out, it’s more than a minor inconvenience – it’s a safety concern that needs addressing.
But before we jump to the fixes, let’s first understand what might cause a one-sided tail light failure.

Causes of One-Side Tail Light Failure
Understanding the root cause of a problem is the first step towards solving it. When it comes to a one-side tail light failure, there are several potential culprits. Let’s explore them one by one.
1. Burned Out Bulb
The most common cause is simply a burned-out bulb. Much like the light bulbs in your house, the bulb in your tail light has a finite lifespan. After a certain period of use, it’s bound to fail. Regular wear and tear or a sudden jolt can cause the filament inside the bulb to break, resulting in a non-functional tail light.
2. Faulty Wiring
Wiring is the bridge that connects your tail light to the car’s electrical system. If there’s any damage, like fraying or cuts, or disconnection in the wiring, the electrical current can’t reach the bulb, rendering your tail light inactive. This issue can arise due to a number of factors, such as age, corrosion, or physical damage to the wiring.
3. Blown Fuse
As mentioned earlier, the fuse is a protective component in your tail light’s electrical circuit. If there’s an electrical current overload, the fuse will blow to prevent damage to the other components. When this happens, the electrical circuit is broken, and the tail light won’t light up.
4. Faulty Tail Light Socket
The tail light socket is where the bulb sits and receives electrical current. If the socket is damaged or corroded, it can interrupt the flow of electricity to the bulb. This interruption means your tail light bulb won’t light up, even if the bulb itself is in perfect condition.
5. Control Switch Issues
While less common, issues with the control switch can also lead to a one-sided tail light failure. It won’t light up if the switch isn’t properly activating the circuit for one of your tail lights. This is often a more complex issue involving other aspects of your car’s electrical system.
Now that we’ve highlighted the possible causes let’s move to the next step: diagnosing which one is responsible for your one-sided tail light failure. The good news is, with patience and a systematic approach, you can often figure this out yourself.

How to Diagnose a One-Side Tail Light Failure
When faced with a one-side tail light failure, the problem may seem daunting. However, you can figure out what’s causing the issue with a systematic approach. Here’s a step-by-step process to help you diagnose the cause:
1. Check the Bulb
The first and simplest step is to check the bulb. You can do this by removing the tail light cover and taking out the bulb from the socket. Inspect the bulb for any signs of damage or burnout. If the filament inside the bulb appears broken or darkened, it may need replacement.
2. Inspect the Wiring
Next, closely examine the wiring connected to the tail light. If you notice any loose connections, frayed wires, or signs of corrosion, the wiring may be the issue.
3. Test the Fuse
If the bulb and wiring appear fine, the next potential culprit is the fuse. Locate the fuse box in your vehicle (refer to the owner’s manual if you’re unsure where it is). Find the fuse responsible for the tail lights and examine it. If the metal strip inside the fuse is broken or burnt, you’ve found your problem.
4. Examine the Tail Light Socket
Don’t forget to inspect the tail light socket – it could be the hidden cause of your problems. Look for any signs of corrosion or damage. If the socket appears in bad condition, this could be interrupting the flow of electricity to the bulb.
5. Assess the Control Switch
If all the above components seem to be in order, the problem could lie with the control switch. This can be more difficult to diagnose without professional tools or experience. If you suspect a control switch issue, it might be time to consult a professional mechanic.
Remember, safety comes first when doing any diagnostic work on your vehicle. Disconnect the battery before you begin and ensure you work in a well-lit, safe environment.
Steps to Fixing a One-Side Tail Light Failure
Before we dive in, please remember that safety is paramount. Always disconnect the battery before starting any repairs to avoid any electrical shocks or mishaps. Let’s begin:
1. Replacing a Burned-Out Bulb
Remove the tail light cover. This usually involves unscrewing it from the inside of your trunk or hatch.
- Take out the old bulb by pushing it in slightly and twisting counterclockwise.
- Check your car manual for the correct type of replacement bulb needed.
- Install the new bulb by pushing it into the socket and twisting clockwise.
- Replace the tail light cover and test to see if the new bulb works.
B. Repairing or Replacing Faulty Wiring
- Disconnect the faulty wiring from the tail light assembly.
- If there’s minor damage, like frayed wires, you might be able to repair it with some electrical tape.
- You’ll need to replace the wire for more serious damage or corrosion. Make sure to match the wire gauge and insulation type.
- Reconnect the repaired or new wiring, ensuring a secure connection.
C. Replacing a Blown Fuse
- Locate the fuse box using your vehicle’s manual.
- Identify the tail light fuse and carefully remove it.
- Inspect the fuse. If the metal strip inside is broken, it’s blown.
- Replace it with a new fuse of the same amperage.
- Test the tail light to see if this resolves the issue.
D. Fixing or Replacing a Faulty Socket
- Remove the bulb from the faulty socket.
- Clean any corrosion from the socket using a wire brush or a suitable cleaning agent.
- If cleaning doesn’t help or the socket is damaged, you may need to replace it. Make sure to get the right socket for your vehicle.
- Install the bulb into the new or cleaned socket, and test the tail light.
E. Repairing Control Switch Issues
Control switch issues can be complex and may require professional tools and knowledge to diagnose and fix. It’s recommended to consult a professional mechanic for these issues to prevent causing any further damage to your vehicle’s electrical system.
These fixes should help you get your tail light up and running again. But remember, seeking professional help is always a good idea when in doubt.
Wrapping it up
And there you have it! Understanding why one tail light isn’t working while the other is, can seem like a puzzle. But with a bit of knowledge about how tail lights work, some basic diagnostic steps, and handy fixes, you can address this problem effectively.
Always remember that tail lights are crucial to your safety on the road. If you’re unsure or uncomfortable tackling these issues by yourself, don’t hesitate to seek help from a professional mechanic.