


In This Article Show
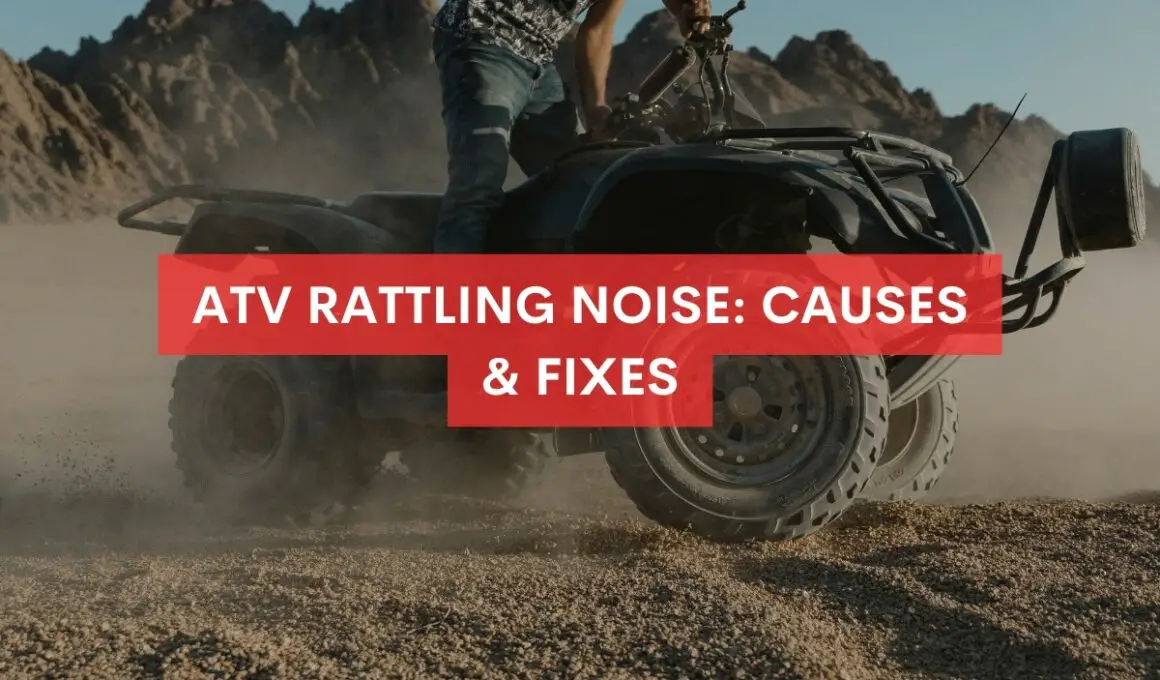
There’s nothing quite like the adrenaline rush of off-roading, whether you’re on a dirt bike, ATV, or UTV. Over my years navigating the rugged terrains and winding paths, I’ve come to understand every hum, purr, and, unfortunately, rattle these machines can make.
So when your ATV starts sounding more like a maraca than a robust off-roading vehicle, I know how jarring it can be.
Rattling noises can be more than just an annoyance; they might signal underlying issues that, if left unchecked, can result in bigger problems. It’s akin to our body sending pain signals, indicating something isn’t right.
But worry not. With the right knowledge and a bit of hands-on action, most of these noises can be identified and fixed. And today, that’s precisely what we’ll delve into.
Common Causes of ATV Rattling Noises
Rattling noises from your ATV aren’t just random sounds; they’re your vehicle communicating with you. Drawing from years of off-roading experience, I’ve distilled some of the most common culprits behind these unsettling noises:
1. Loose Bolts and Screws
Every off-roader, newbie or veteran, has faced this at some point. As your ATV braves rough terrains and bumps, vibrations can cause bolts and screws to loosen. The result? A cacophony of little rattles.
Tip 💡
Check the undercarriage, wheels, and chassis routinely. A quick tighten-up during your routine maintenance can save a headache on the trails.
2. Damaged or Misaligned Chain/Belt
Think of the chain as the backbone of your ATV’s propulsion. If it’s worn out, misaligned, or damaged, you’ll hear it complaining—loudly.
Tip 💡
Regularly inspect your chain for signs of wear. Also, ensure it aligns correctly with the sprockets. A misaligned chain rattles and can lead to faster wear and tear.
3. Exhaust Issues
The exhaust system can become a noise culprit for a couple of reasons: cracked pipes, loose fittings, and even damaged exhaust mounts.
Tip 💡
Listen closely. If the rattling intensifies during acceleration, your exhaust system might be the offender. A quick visual inspection for cracks or loose parts can often pinpoint the issue.
4. Worn Out or Damaged Bearings
Bearings ensure that the wheels turn smoothly. Over time, with exposure to mud, water, and rough terrains, they can wear out or seize, leading to a distinct rattling or grinding noise.
Tip 💡
If your ATV’s handling feels off, and you hear a rattle, especially when making turns, it might be time to check the bearings.
5. Broken or Loose Body Panels and Guards
These components are designed to protect your ATV’s internals, but when they’re loose or broken, they can cause an annoying rattle, especially at higher speeds.
Tip 💡
Before a ride, give your ATV a once-over. Press down on panels and guards to ensure they’re secure. It’s a simple step, but it can save you from mid-ride mysteries.
6. Engine Issues
While it’s less common, rattling can sometimes originate from the engine due to issues with components such as the valves or even loose spark plugs.
Tip 💡
Regular engine check-ups are essential. If the noise seems to come directly from the engine bay and you’ve ruled out external causes, getting a professional’s eyes (and ears) on it is a good idea.
Quick Fixes for ATV Rattling Noises
Knowing how to address these issues not only brings peace of mind but it also ensures you’re taking good care of your machine. Here are some quick fixes based on my off-roading adventures and fixes over the years:

1. Tightening Loose Components
- Tools You’ll Need: A good ratchet set and possibly some thread locker.
- How to Fix: Once you’ve identified a loose bolt or screw, make sure to tighten it to its proper torque specification. For bolts that tend to come loose, consider using a thread locker to keep them in place.
- Expert Tip: Don’t over-tighten! It’s easy to strip the threads on some ATV parts. Use a torque wrench if you’re uncertain.
2. Lubricating and Adjusting the Chain/Belt
- Tools You’ll Need: Chain lubricant, a brush, and possibly a chain tensioning tool.
- How to Fix: Clean the chain of dirt and debris using the brush. Once cleaned, apply the chain lubricant evenly. Ensure the chain/belt has proper tension by adjusting as per the ATV’s manual.
- Expert Tip: Always lubricate after washing your ATV or riding through water. It helps extend the chain’s lifespan.
3. Replacing Damaged Bearings
- Tools You’ll Need: A bearing puller and the appropriate replacement bearings.
- How to Fix: Once you’ve identified a damaged bearing, use the bearing puller to remove it. Ensure the area is clean before inserting the new bearing.
- Expert Tip: When replacing, always opt for quality bearings. They might be pricier, but they last longer and provide better performance.
4. Securing Body Panels and Guards
- Tools You’ll Need: Basic hand tools like screwdrivers or a ratchet set, depending on your ATV’s design.
- How to Fix: Examine the body panels and guards for loose fittings. Tighten any loose screws or replace any that are missing. If a panel or guard is broken, consider replacing it to prevent further issues.
- Expert Tip: Consider adding rubber washers or dampening pads between panels for an added touch. They help reduce vibrations and potential rattling.
When to Seek Professional Help
No matter how seasoned an off-roader you are, there comes a time when a situation is best left in the hands of a professional. The terrain we love can be as unpredictable as the issues our ATVs might throw our way.
Knowing when to DIY and when to seek expert assistance can be the difference between a minor repair and a costly mistake. Let’s explore those crucial junctures:
1. Persistent Rattles Despite Checks and Fixes
If you’ve gone through the checklist, tightened what needs tightening, and lubricated what needs lubricating, but the rattle persists, there could be underlying issues you might be missing.
Expert Insight ⚡️
Sometimes, it takes an experienced mechanic with specialized tools to detect less obvious problems. Remember, catching issues early is better than letting them escalate.
2. Engine-Related Noises
Why: The engine is the heart of your ATV. While some fixes might be simple, others require a deeper understanding of engine mechanics.
Expert Insight ⚡️
An unchecked engine issue can lead to decreased performance, increased fuel consumption, or even severe damage. A professional can diagnose and rectify these issues with precision.
3. Technical Repairs Beyond Skill Level
Why: Certain repairs, such as replacing major components or dealing with the ATV’s electrical system, can be complex.
Expert Insight ⚡️
There’s no shame in admitting that a task might be beyond your skill set. In fact, it’s wise. Incorrect fixes can lead to more significant problems down the line.
4. When Safety is a Concern
Why: If brakes are making noises, if there are issues with the steering, or if any other vital safety components are in question, it’s paramount to consult a professional.
Expert Insight ⚡️
Safety should never be compromised. A professional mechanic can ensure all safety systems in your ATV are functioning optimally.
There’s a certain pride in fixing issues ourselves, especially when we’re out on the trails. But there’s also wisdom in recognizing when to hand over the reins to an expert. After all, our primary goal is to enjoy the off-roading experience, and ensuring our ATVs are in top shape is a significant part of that.
Preventive Measures: Avoiding Rattles in the First Place
The key to maximizing the joy of the journey, while minimizing the hiccups, lies in proactive care for your ATV. Here’s how you can stay ahead of those rattling noises and many other potential issues:
1. Regular ATV Maintenance
- Why: Just as we need regular check-ups to stay in top shape, so does your ATV. Regular maintenance ensures the machine operates efficiently, and potential problems are caught early.
- Expert Tip: Establish a routine based on your riding frequency. Even if you’re not hitting the trails often, periodic checks are crucial to prevent issues caused by prolonged inactivity.
2. Avoiding Rough Treatment
- Why: Yes, ATVs are designed for rugged terrains, but unnecessary rough handling can accelerate wear and tear.
- Expert Tip: Learn to differentiate between challenging terrain and reckless riding. The latter can strain your ATV, leading to earlier and more frequent breakdowns.
3. Upgrading Components
- Why: Stock components are often designed to meet general needs, but upgrading to high-quality, specialized parts can enhance performance and durability.
- Expert Tip: Consider upgrades like stronger bolts, high-performance bearings, or better-quality body panels. They might be an investment upfront but can save money and stress in the long run.
4. Proper Storage
- Why: Exposure to harsh weather conditions or prolonged periods of non-use can affect your ATV’s health.
- Expert Tip: If you can, store your ATV indoors or under a quality cover. This prevents moisture accumulation, which can lead to rust and other issues.
5. Stay Informed
- Why: Like all technology, ATV designs, and components evolve. Staying updated with the latest in off-roading tech can give you insights into better care and maintenance.
- Expert Tip: Join off-roading forums, attend workshops, or subscribe to ATV magazines. The off-roading community is a treasure trove of knowledge.
Preventive measures not only save you from unexpected breakdowns but also extend the life of your ATV, ensuring it remains a reliable companion for many adventures.
Treating your ATV with care means it’ll always be ready to tackle the trails with you, rattle-free.