


In This Article Show
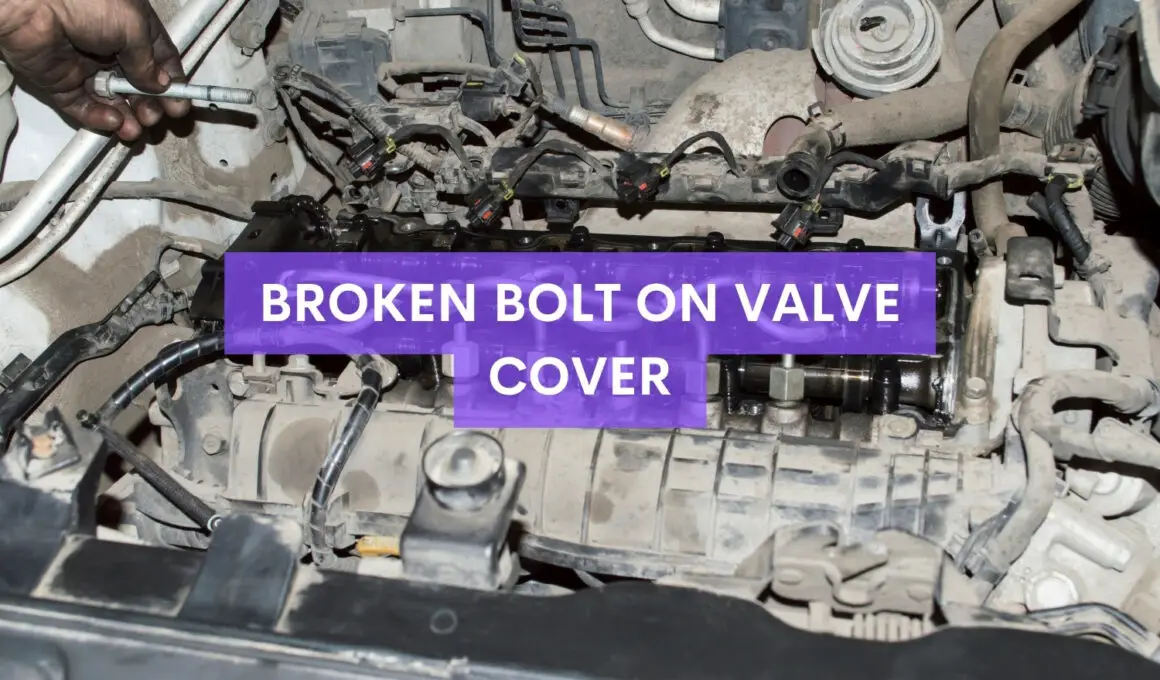
Over the years on the job, I’ve run into my fair share of seized bolts and broken fasteners. One common area this happens is on the valve cover, a vital engine component that encloses the top of the cylinder head.
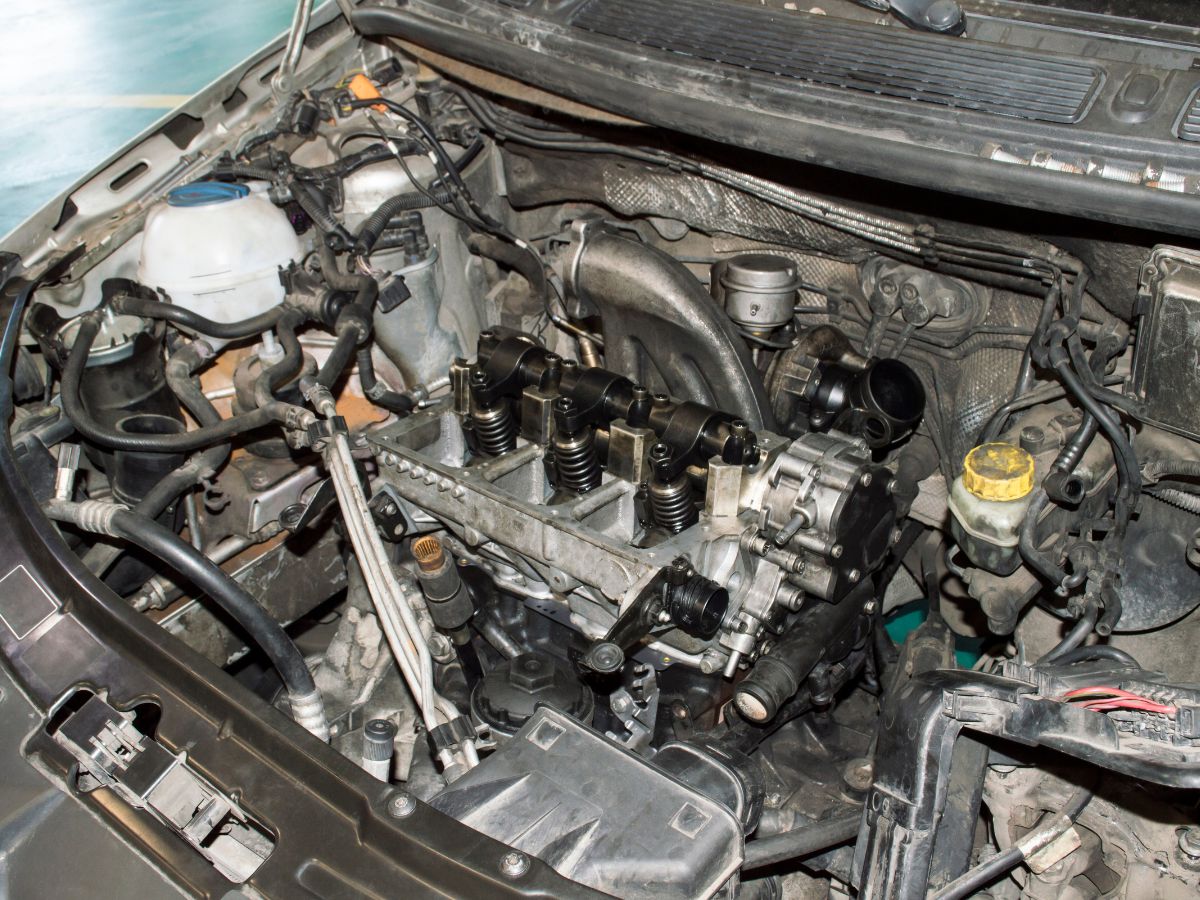
The valve cover serves a few crucial functions – it contains engine oil splatter, provides an attachment point for components like the PCV valve and breathers, and keeps the upper valve train clean.
But after years of wear, the bolts securing the valve cover can become stubborn or snap off during removal. As a seasoned mechanic who also writes DIY maintenance posts, I’ve learned the most effective methods for removing a broken bolt on the valve cover and replacing this part.
I’ll explore the common causes of broken valve cover bolts and outline practical solutions using specialist tools and techniques. With some patience and the proper process, you can successfully restore the valve cover without causing further damage. Let’s get started!
Causes of a Broken Bolt on the Valve Cover
The valve cover bolts can become damaged over time, resulting in frustration when you attempt to remove them. There are several key reasons this occurs:
Rust and Corrosion Buildup
The number one cause of stuck bolts on the valve cover is accumulated rust and corrosion. The valve cover is positioned high on the engine and exposed to splashing water and road debris. This causes the threads and contact surfaces of the bolts to oxidize and rust gradually.
Areas around water pumps, coolant hoses, and the cylinder head tend to have accelerated rust issues. Seasonal temperature changes worsen corrosion as condensation forms on the cold valve cover surface.
Over time, this rust fuses the bolts to the mating threads and surfaces. Attempting removal can break a corroded bolt or strip the threads. Rust scale and debris inside the threads prevent the bolt from loosening even with penetrating oil.
Improper Torque and Over-Tightening
The factory torque procedure must be followed when installing valve cover bolts. If improperly torqued or over-tightened, the bolts are put under excessive strain. This fatigues the threads and stretch-stresses the bolt over time.
The result is weakened bolts and prone to snapping unexpectedly under the removal force.
I’ve seen inexperienced technicians over-torque bolts thinking they’re ensuring a leak-free seal. But this backfires once disassembly is needed. Always follow your repair manual’s head bolt tightening sequence and torque specs.
Wear and Age
As an engine accumulates years and mileage, the valve cover bolts endure constant stress from engine vibration, heating cycles, cold starts, and compression pulses. The clamps holding them in place also loosen over time.
This wears out the bolts through metal fatigue and elongation of threads. Very old engines often have cover bolts that come apart with minimal persuasion due to age and use.
Oil Leaks and Varnish
A valve cover gasket leaking oil seems minor, but it can drip oil onto the cover bolts and create a sticky varnish buildup. This varnish attracts debris and holds onto rust.
If neglected over time, the bolts get “glued” in place by hardened varnish. Attempts to remove stuck oily bolts usually round off the head or snap the bolt.
Methods to Remove a Broken Bolt
When facing a broken or seized valve cover bolt, you can try several removal techniques before drilling it out. Patience and care is needed to extract the bolt without damaging the threads. Here are the common methods:
Manual Extraction
If the bolt head is accessible, you can try locking vice grips or locking pliers onto it to unscrew the bolt. The key is slowly adding penetrating oil and progressively tightening the grips over several days to free the threads. Applying low heat from a small torch can help.
Avoid putting too much torque on the vice grips, which risks snapping the bolt. This manual extraction method can back out even badly corroded bolts with patience. Tapping on the bolt head with a hammer while gripping can also help vibrate it loose.
Screw Extractor Tools
Screw extractors are specialty tools that dig into the flanks of the bolt and reversely back it out. Pressing the extractor into the bolt while turning releases the threads. Apply firm pressure while turning the extractor tool counterclockwise.
Using extractors works better than vice grips on recessed or broken bolts where gripping is difficult. Avoid damaging nearby threads in the cylinder head when using extractors. Cutting oil helps lubricate the process.
Left-Hand Drill Bits
Left-hand twist drill bits are another option for removing seized bolts. Drill into the bolt center with the left-hand bit while applying firm pressure. This action “unscrews” the bolt by spinning it counterclockwise until the threads release.
Heli-Coil Thread Repair
If the above methods fail, you’re left with drilling out the damaged bolt. This destroys the threads so they must be repaired. Use a bolt extractor bit sized slightly larger than the original bolt. Clean out debris and install a Heli-Coil thread insert to replace the threads. The engine can then be reassembled with a new bolt.
Replacing the Valve Cover and Bolts
Once you’ve removed the stuck bolts, it’s just as important to properly install the new or cleaned valve cover and replacement bolts. Here are the key steps I follow:
Inspect Valve Cover
Closely inspect the valve cover for any warpage, cracks, or damage now that it’s off. A cover that is warped from overtightening or excessive heat will not seal properly with a new gasket. Look for corrosion pitting along the sealing surface as well. It’s wise to replace a faulty cover.
Clean Sealing Surfaces
Use a plastic scraper and shop rags to thoroughly clean the sealing surfaces on both the cylinder head and valve cover. Remove any leftover gasket material or debris. This allows the new gasket to mate cleanly to the metal surfaces. Avoid gouging the surfaces.
Apply Gasket Sealant
Most professionals recommend applying a small bead of RTV sealant along the valve cover and head sealing surfaces before installing the gasket. This provides an extra level of insurance against leaks. Let the sealant cure according to the product instructions.

Install New Bolts
Always use new valve cover bolts when re-installing a valve cover. Lubricate the threads of the new bolts with motor oil. Carefully tighten the bolts in the proper sequence to the torque spec listed in your repair manual. This prevents over-torquing damage.
Wrapping it up
Dealing with a broken or stubborn bolt on the valve cover can be very frustrating. But with some patience and using the proper techniques, you can remove the bolt and get the valve cover off without causing damage.
The keys are understanding what causes the bolts to fail, using specialty tools like extractors, and following the proper procedures for installation of the new valve cover gasket and bolts. Take your time and don’t force anything.
Careful use of the methods described here will leave you leak-free back on the road.