


In This Article Show
Welcome to our complete guide on car detailing. If you’re as passionate about cars as I am, you understand that detailing isn’t just about keeping your vehicle clean; it’s an act of love that protects and prolongs the life of your automobile.
I’m a seasoned mechanic with over 13 years of experience in the field, and I’ve spent a significant part of that time mastering the art of detailing. But don’t worry; I’m not here to confuse you with industry jargon or complicated procedures.
Car detailing goes beyond the regular car wash you might be accustomed to; it’s a thorough cleaning process that ensures every nook and cranny of your vehicle shines. A well-detailed car looks fantastic and provides an enhanced driving experience.
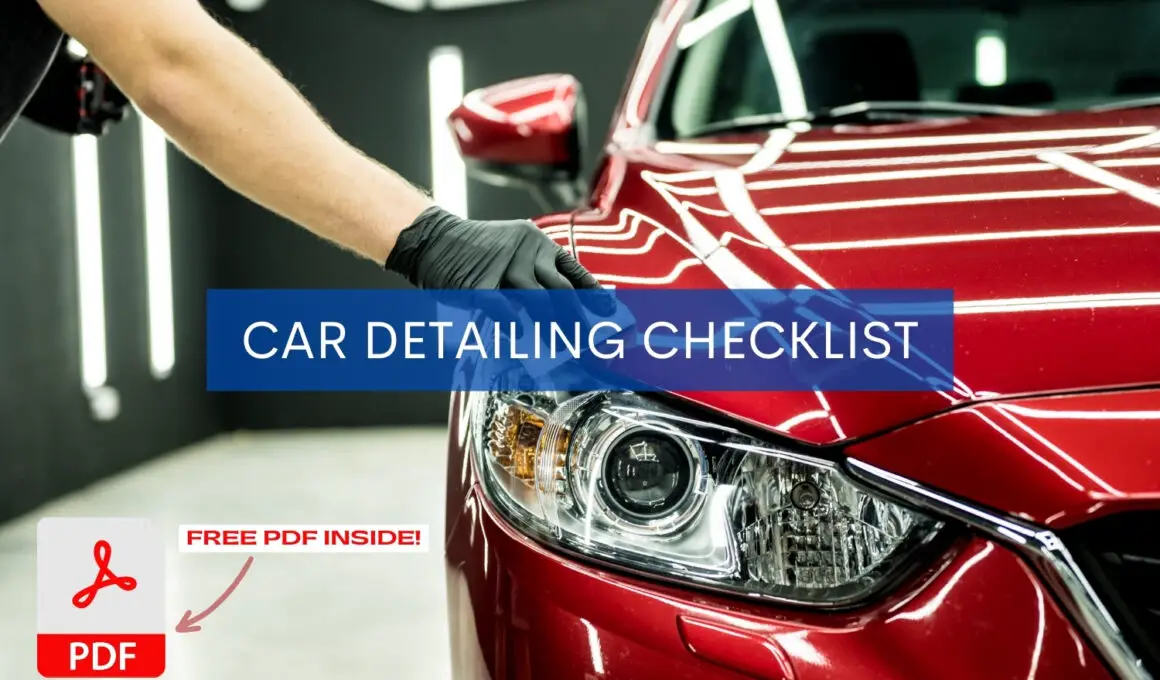
In this guide, I’ve created a comprehensive checklist to help you understand the process and intricacies of detailing your car, from the tools you’ll need to the techniques you’ll employ. This checklist draws from my practical experience and is designed to help you achieve professional-grade results in your driveway.
Whether you want to detail your car for personal satisfaction or maintain its value, this guide will be your step-by-step manual.
Car Detailing Explained
Many people confuse car detailing with a regular car wash, but they are significantly different. So, what exactly is car detailing?
Car detailing involves thoroughly cleaning your vehicle’s interior and exterior to remove any dirt, dust, and grime that a standard car wash may miss. It’s a top-to-bottom, deep clean that covers every nook and cranny of your car, from the engine bay to the air vents inside.
The goal of car detailing is not only to restore your vehicle’s shine but also to extend its life by protecting it from wear and tear. When you detail your car, you improve its aesthetics and maintain its functionality and value.
Regular car washes are essential for maintaining cleanliness, but they only skim the surface. Detailing goes the extra mile by addressing areas like the undercarriage, upholstery, and small crevices that a car wash often overlooks.
Investing time in detailing can also help identify potential issues that might go unnoticed, such as small dents, scratches, or chipped paint, allowing you to address these problems early.
Tools and Products Needed for Car Detailing
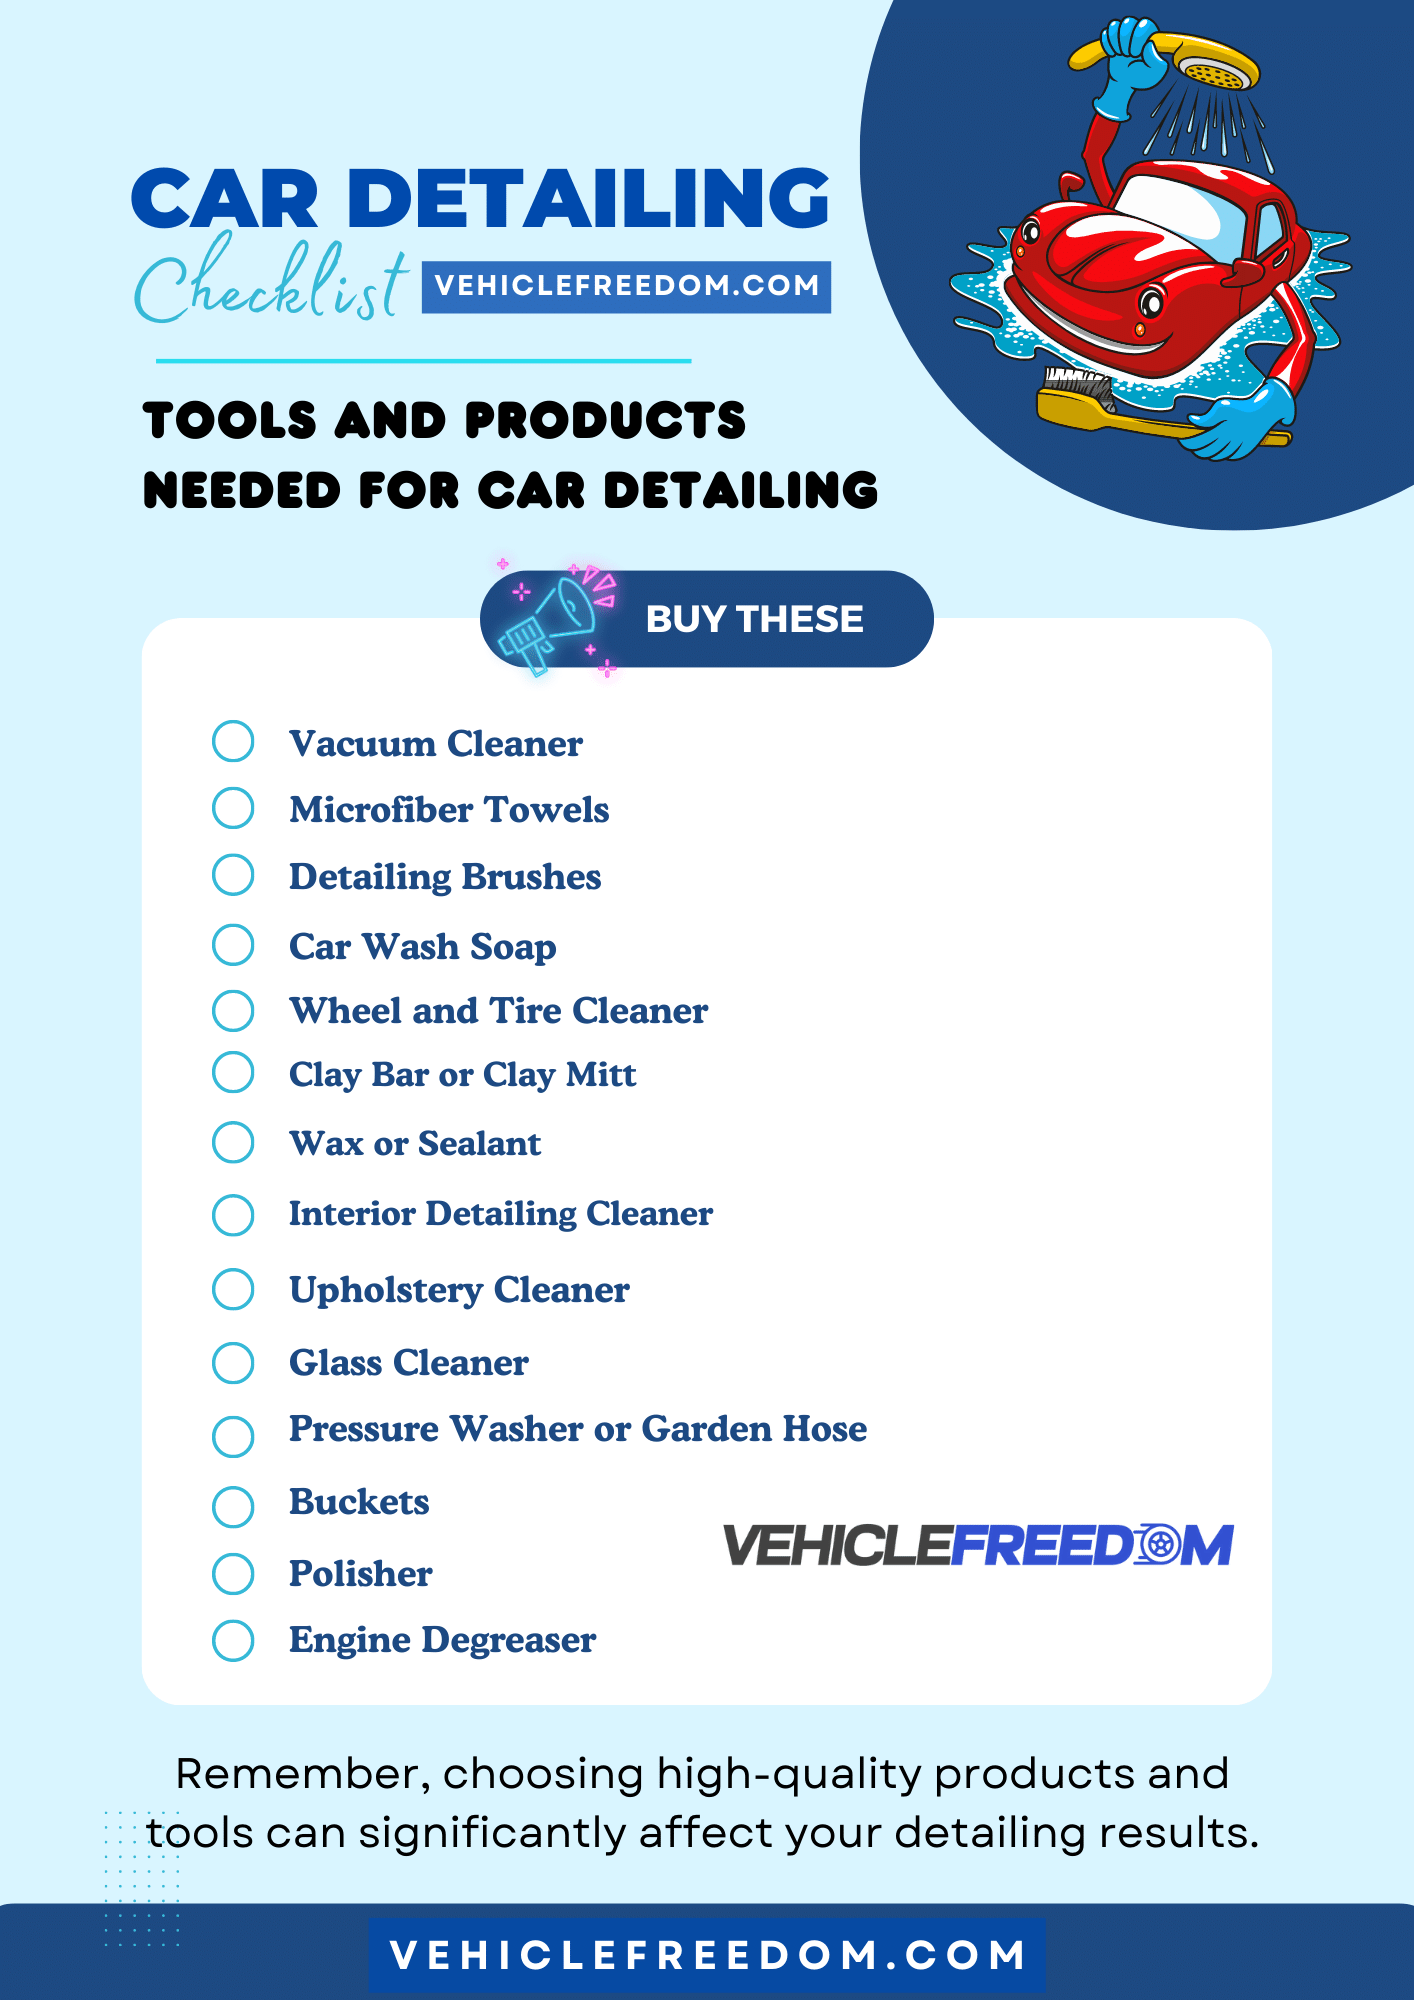
Embarking on your car detailing journey requires the right arsenal of tools and products. You may find some already in your garage, while others must be purchased. But worry not – investing in these items ensures a smooth, effective detailing process and a vehicle that looks as good as new.
Here’s a rundown of the essential tools and products you’ll need for car detailing:
- Vacuum Cleaner: A vacuum with various attachments is crucial for cleaning your car’s interior, especially those hard-to-reach areas like under the seats and in the crevices of the seats and floor mats.
- Microfiber Towels: Microfiber towels are gentle on your car’s surfaces and are great for cleaning and drying without leaving streaks or scratches.
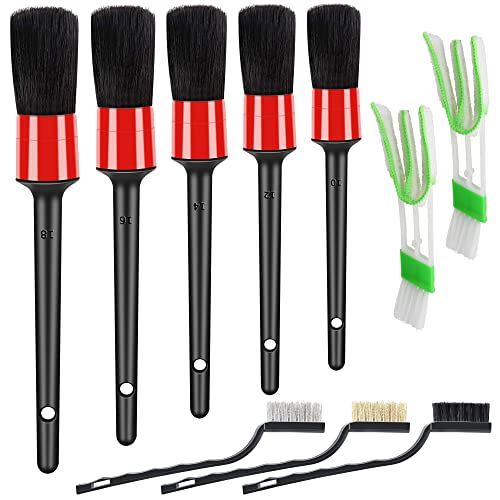
- Detailing Brushes: Brushes of different sizes come in handy for cleaning various components, such as air vents, crevices, buttons, and exterior parts like grills and logos.
- Car Wash Soap: Specialized car wash soap is designed to clean your car’s exterior without damaging the paint or clear coat.
- Wheel and Tire Cleaner: These products are formulated to remove brake dust, road grime, and dirt from your wheels and tires.
- Clay Bar or Clay Mitt: A clay bar or mitt is used to remove embedded contaminants from your car’s paint, giving it a smooth finish.
- Wax or Sealant: Good car wax or sealant protects your car’s paint from environmental damage and gives it a glossy shine.
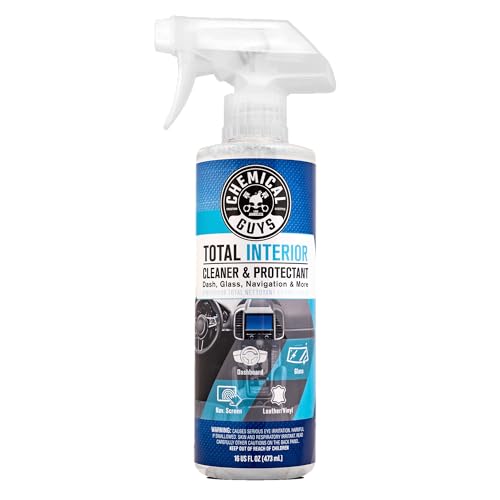
- Interior Detailing Cleaner: This is essential for cleaning the dashboard, center console, and other interior surfaces of your car.
- Upholstery Cleaner: This is needed for cleaning your car’s seats, whether they’re made of fabric, vinyl, or leather.
- Glass Cleaner: A good glass cleaner is indispensable for streak-free windows and mirrors.
- Pressure Washer or Garden Hose: To rinse off the soap and cleaners, you’ll need a pressure washer or a garden hose with good pressure.
- Buckets: At least two buckets are needed for the two-bucket method of car washing, which helps avoid scratching your car’s exterior.
- Polisher: A dual-action polisher helps to apply wax and remove minor scratches and swirl marks from your car’s paint.
- Engine Degreaser: An engine degreaser will aid in the cleaning of your car’s engine bay.
Remember, choosing high-quality products and tools can significantly affect your detailing results. With your toolkit ready, let’s move to the detailing checklists for your car’s interior, exterior, and engine bay.
Shop The Tools


Interior Car Detailing Checklist
Giving your car’s interior a deep clean can dramatically improve your driving experience. Here’s a step-by-step checklist for a thorough interior detailing:
1. Pre-cleaning
- Remove Trash: Start by removing any loose items, trash, and other personal belongings. Check all compartments, pockets, and crevices. Remember, a clean working space is essential for effective detailing.
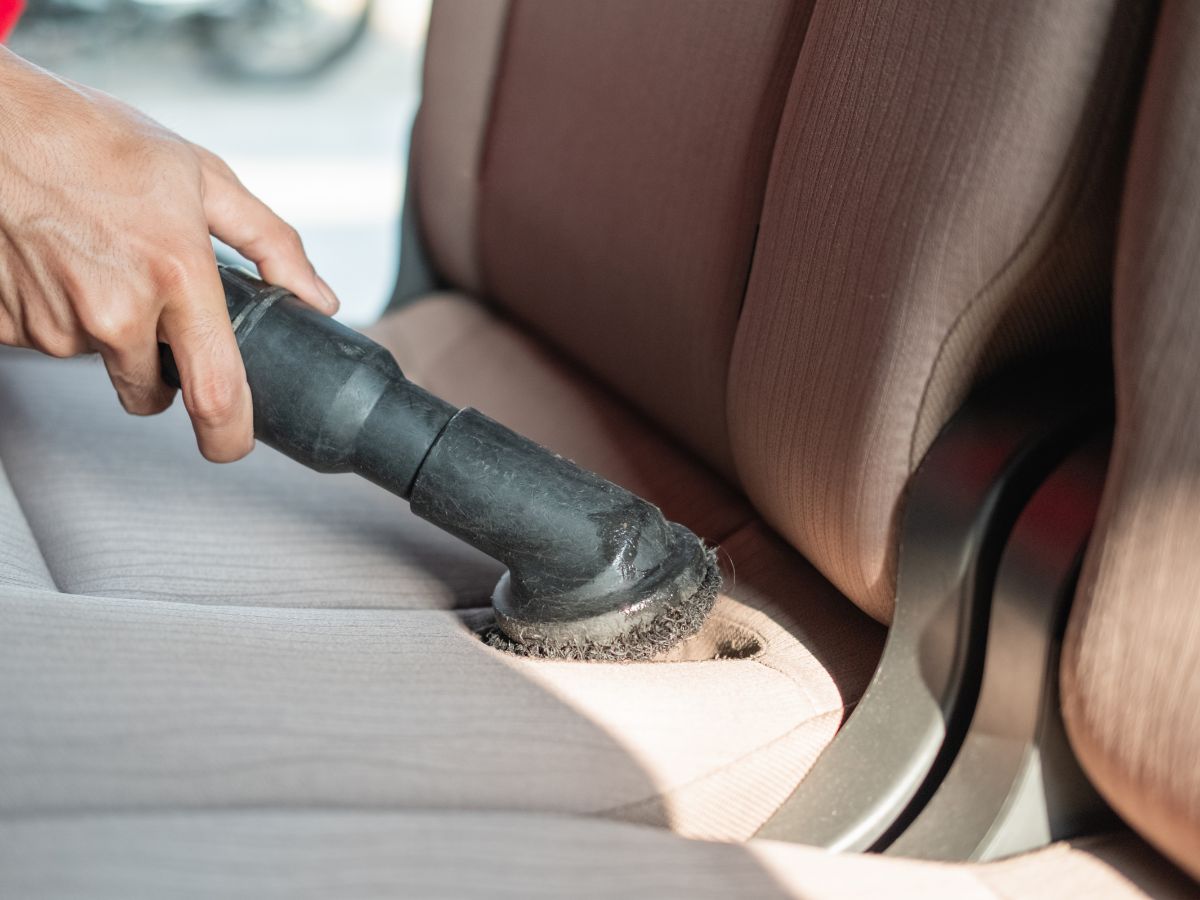
- Vacuum: Use a vacuum cleaner with appropriate attachments to remove dust, dirt, and other particles from the seats, floor mats, carpets, and trunk.
Don’t forget to vacuum under the seats and the ceiling upholstery as well.
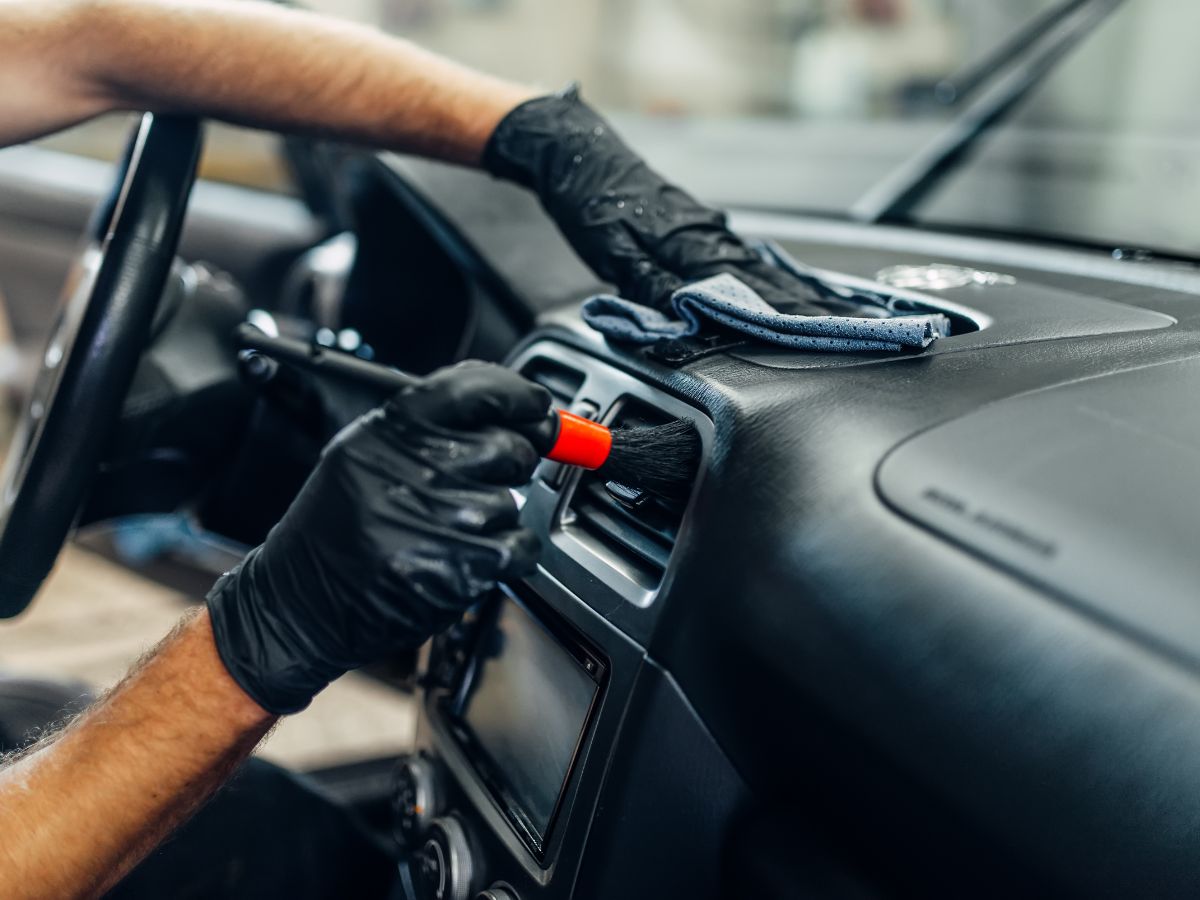
2. Cleaning
- Dashboard and Console: Use an interior detailing cleaner and a microfiber cloth to clean the dashboard and console. A detailing brush can help you clean the vents, buttons, and other intricate areas.
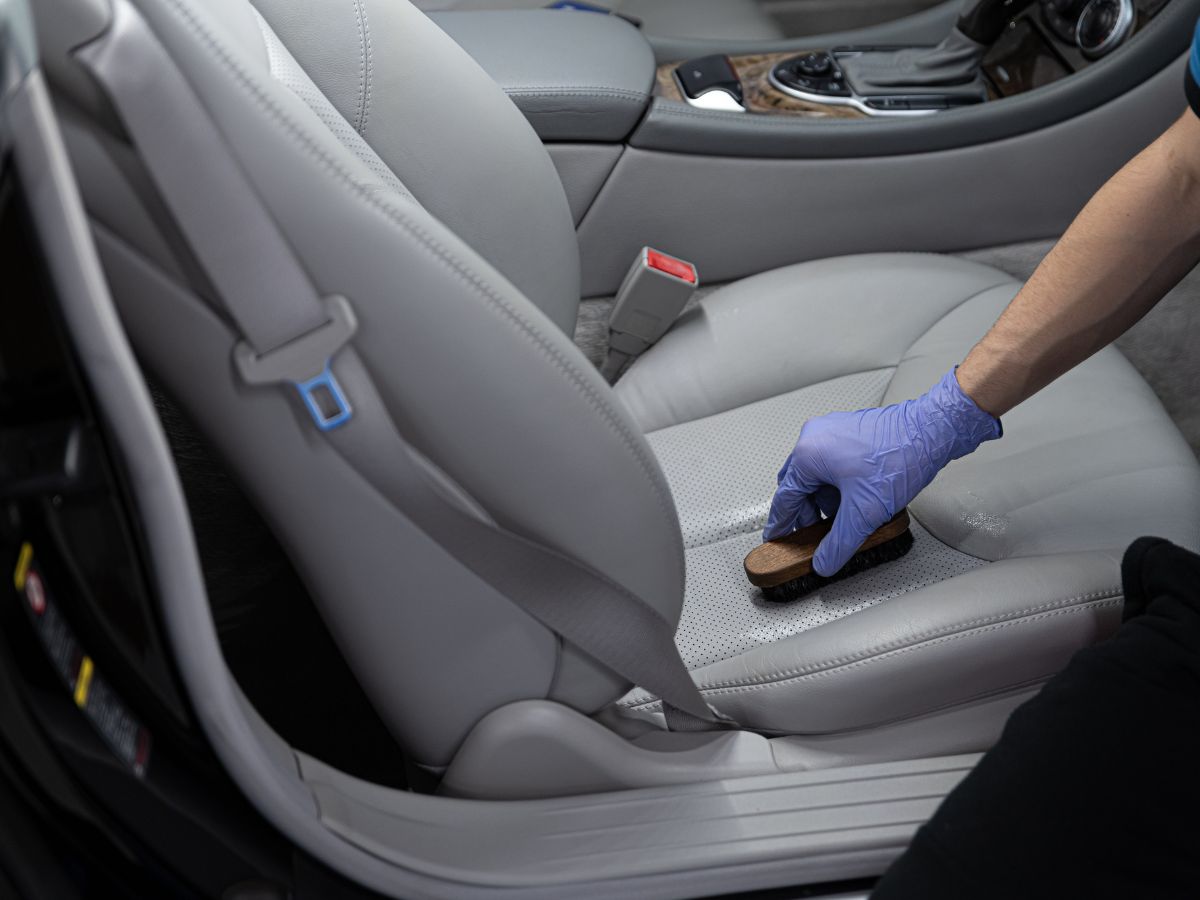
- Seats: If your seats are fabric, use an upholstery cleaner and a soft-bristle brush, then vacuum again. Use an appropriate leather or vinyl cleaner and conditioner if they’re leather or vinyl.
- Carpets and Mats: Use a carpet cleaner and a brush to scrub the carpets and mats, then vacuum. For stubborn stains, a spot cleaner or steam cleaner can be used.
- Windows and Mirrors: Use a glass cleaner and a microfiber cloth for a streak-free clean. Always clean in one direction on the inside and another on the outside to easily spot any streaks.
3. Detailing
- Air Vents: Use a detailing brush and compressed air to remove dust from the air vents.
- Pedals: Clean the pedals with a suitable cleaner and a brush. Be cautious not to make them slippery.
- Switches and Dials: These can be cleaned with a detailing brush and a small amount of interior detailing cleaner.
4. Conditioning
- Leather Treatment: If your car has leather seats or components, apply a leather conditioner to keep them hydrated and prevent cracks.
- Plastic and Vinyl Restoration: Use a restorative product on the dashboard, door panels, and other plastic or vinyl parts to bring back their shine and protect them from UV damage.
5. Final Touches
- Odor Eliminator: If there are any persistent odors, use an odor eliminator. Avoid strong air fresheners, which may only mask the smell.
- Air Freshener: Choose a subtle air freshener to leave your car smelling clean and fresh.
Read: The Best Car Dehumidifiers
Detailing your car’s interior might take some time and effort, but the result is worth it – a clean, fresh-smelling car that’s a pleasure to drive. Regular maintenance can prevent dirt and grime from building up, making your detailing job easier in the future.
Let’s now look at how to detail the exterior of your car.
Exterior Car Detailing Checklist
Exterior car detailing is a meticulous process that goes beyond a simple wash. It’s about giving your vehicle a deep clean, enhancing its appearance, and protecting it from the elements. Here’s a comprehensive checklist for effective exterior detailing:
1. Washing
- Body: Start by rinsing the car to remove loose dirt and debris. Use a car wash soap and a microfiber wash mitt to clean the body. Always wash from top to bottom in small sections, rinsing frequently to prevent the soap from drying on the car.
- Wheels and Tires: Use a wheel and tire cleaner to remove brake dust and grime. A stiff-bristled brush is great for scrubbing tires, and a smaller brush can help reach into the nooks and crannies of the wheels.
- Windows and Mirrors: Clean the windows and mirrors using a glass cleaner and a microfiber cloth. Like in the interior cleaning, clean in one direction outside and another inside for easy streak spotting.
3. Detailing
- Clay Bar Treatment: After washing and drying, use a clay bar or clay mitt with a clay lubricant to remove embedded contaminants from the paint. This step leaves your car’s surface smooth and ready for polishing or waxing.
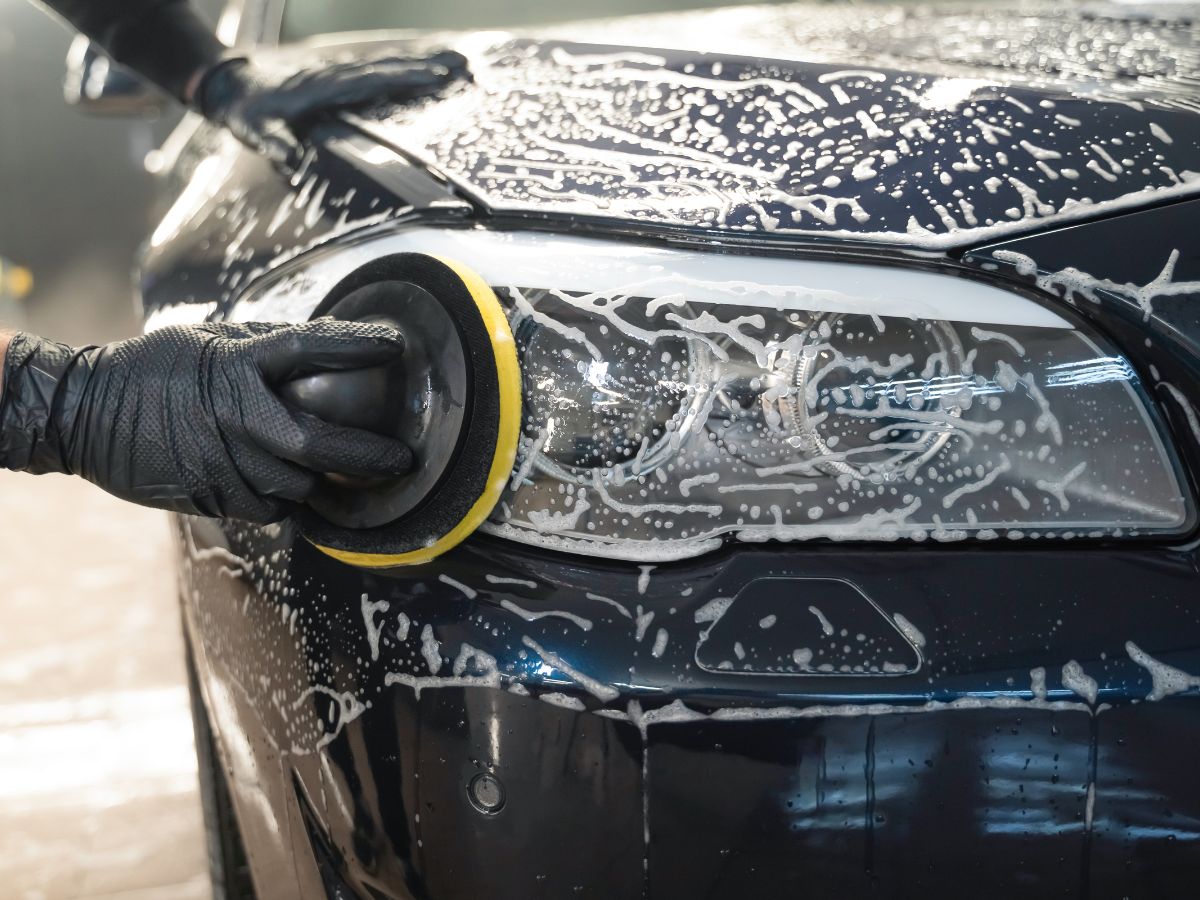
- Polishing: If your car’s paint has minor scratches, swirls, or oxidation, consider using a dual-action polisher with a polishing compound to restore its shine.
- Trim and Rubber: Clean the trim and rubber parts with a suitable cleaner. Use a protectant to prevent fading and cracking.
3. Protecting
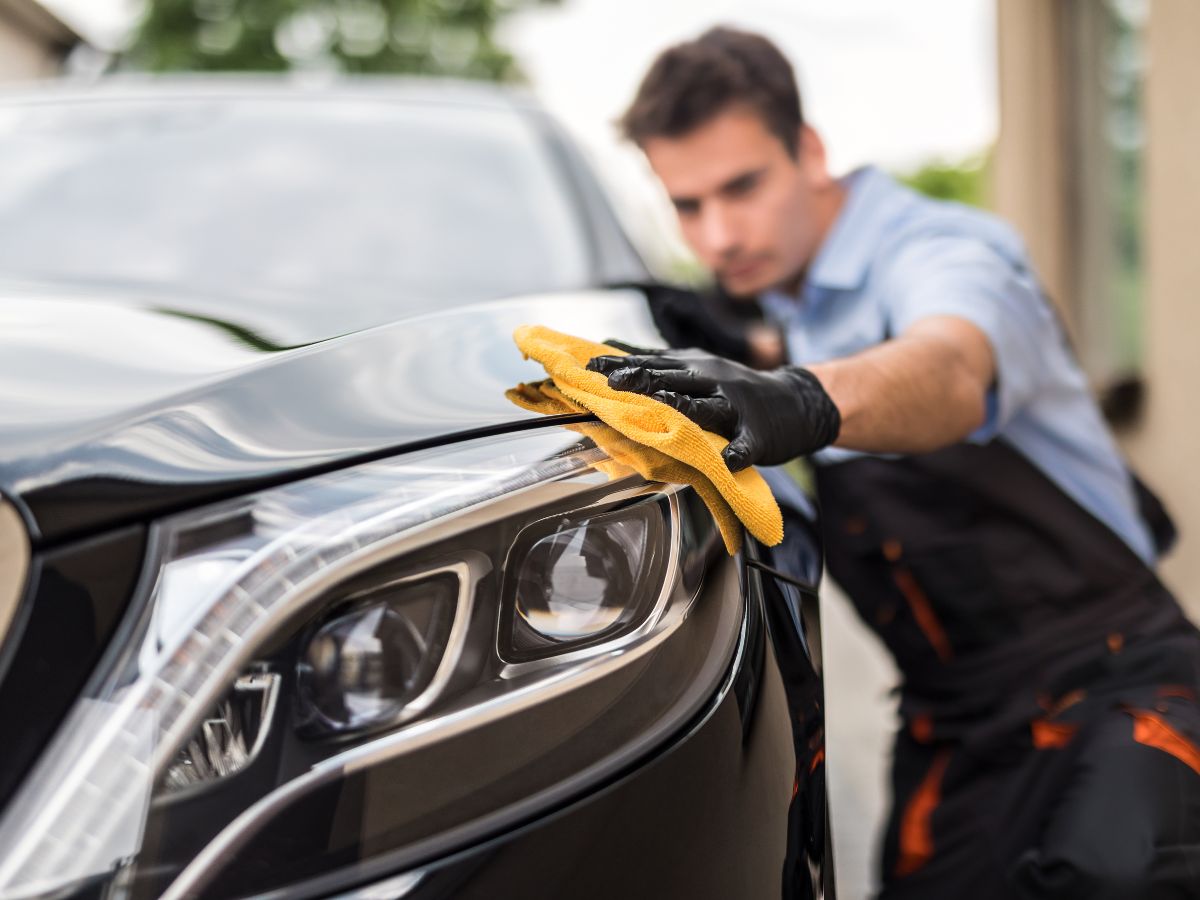
- Wax or Sealant: Apply a high-quality car wax or sealant to protect the paint from UV rays, environmental pollutants, and bird droppings. This step also gives your vehicle a glossy shine. Remember to apply the wax or sealant on a cool surface and in the shade for best results.
- Headlights and Taillights: Consider using a headlight and taillight polish to clear up any cloudiness. For protection, a plastic sealant can be applied.
4. Final Touches
- Tire Dressing: Use a tire dressing for a glossy (or matte, if you prefer) look to protect them from cracking.
- Windows and Mirrors: Apply a water repellent on the windows and mirrors. This will make it easier to see during heavy rain as the water will bead up and roll off.
- Chrome: Any chrome parts can be polished using a designated chrome polish to provide a bright, mirror-like finish.
Detailed exterior car detailing makes your car look its best and adds a protective layer that guards against the elements. Remember to pay attention to every small detail; your car will reward you with a dazzling finish.
Engine Bay Detailing Checklist
The engine bay might not be the first thing people see, but it equally deserves of attention in a thorough detailing process. A clean engine bay can make routine maintenance easier and help identify any potential issues earlier.
Here is your step-by-step guide to engine bay detailing:
1. Preparation
- Cool Down: Ensure the engine is cool to the touch before starting. Working on a hot machine can result in injury.
- Remove Loose Debris: Check for leaves, twigs, or other loose debris and remove them by hand or using a brush.
- Cover Sensitive Areas: Use plastic bags or aluminum foil to cover electrical components like the alternator, battery, spark plug openings, and the air intake, if necessary. This step protects these elements from water and degreaser.
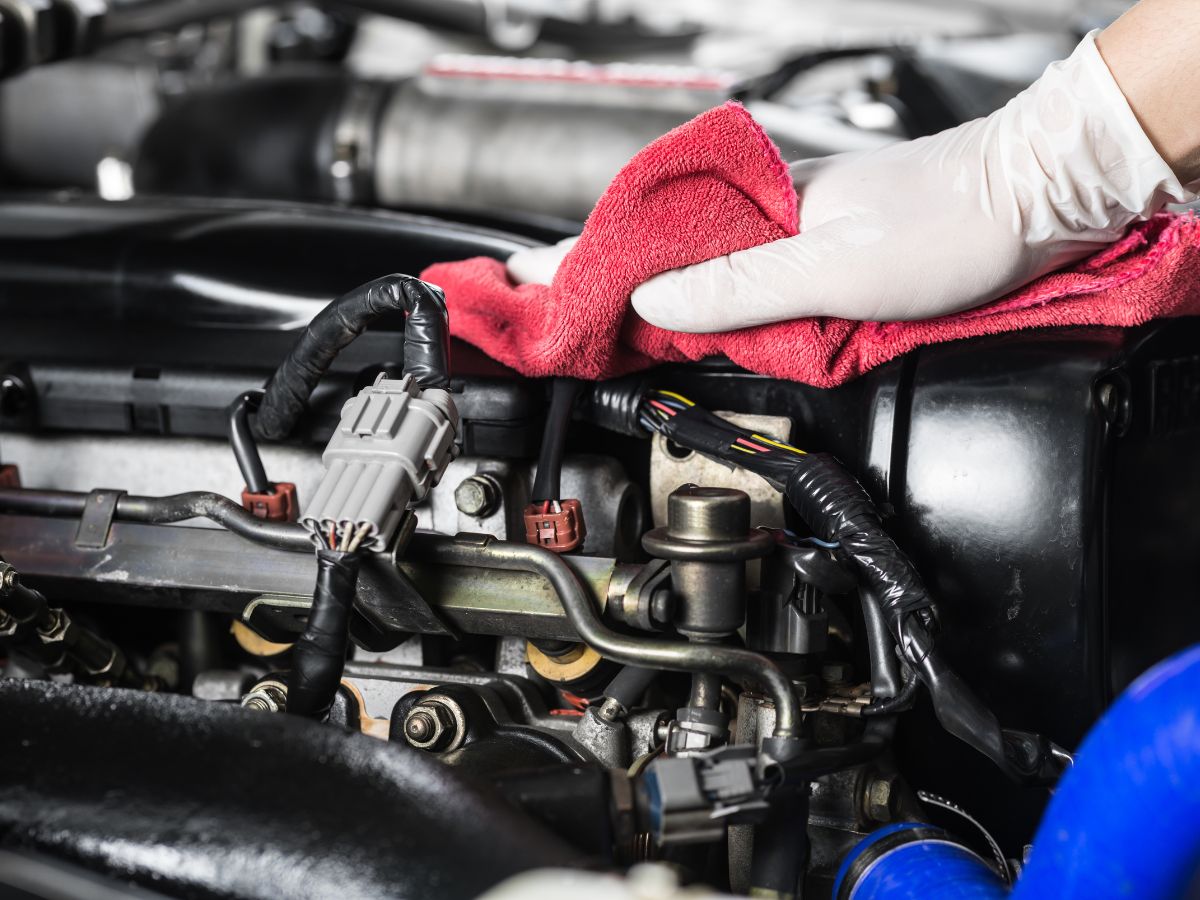
2. Cleaning
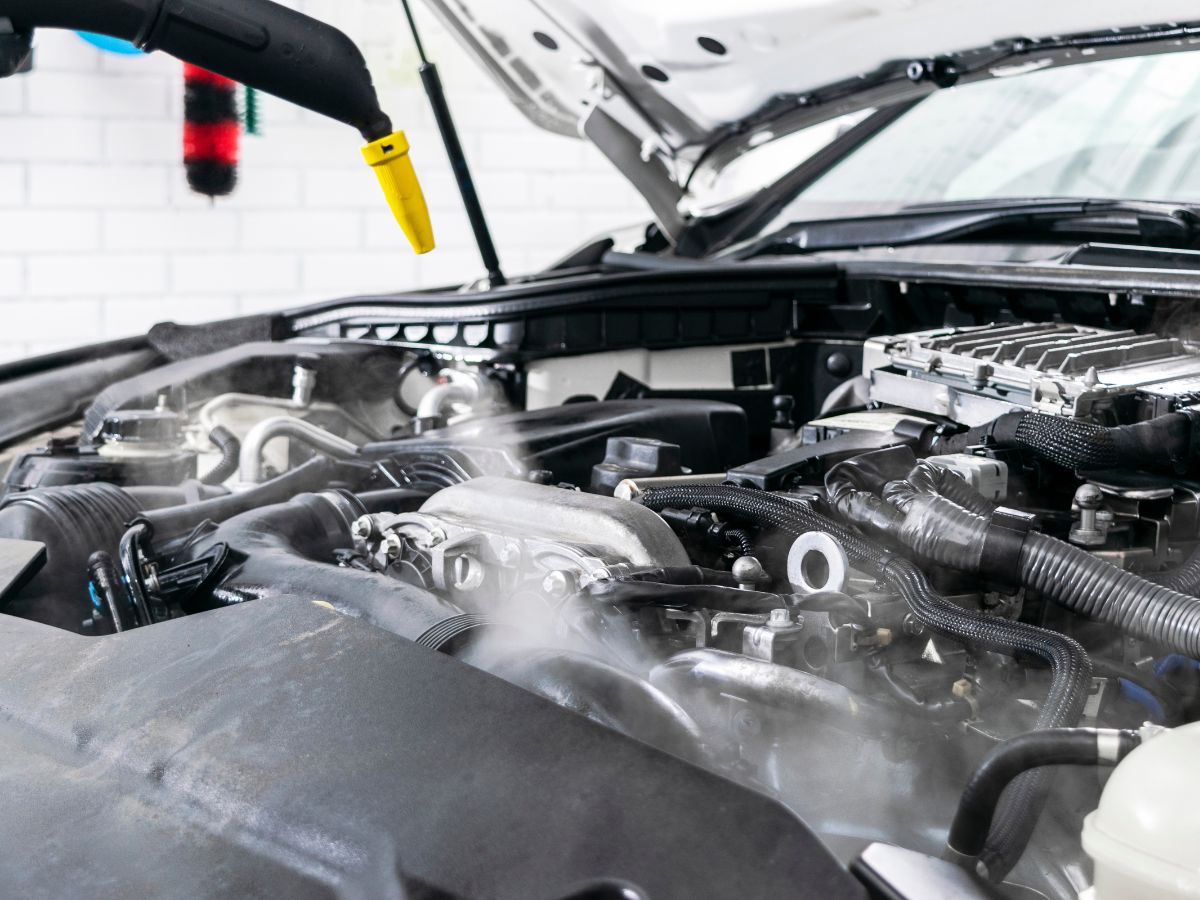
- Apply Degreaser: Spray an engine degreaser on the engine bay surfaces. Ensure it’s safe for all materials, such as rubber, plastic, and metal. Allow it to sit for a few minutes to break down the grease and grime, but don’t let it dry out.
- Scrub If Needed: For stubborn grime, you may need to scrub with a brush gently. Use different sizes to reach all areas.
- Rinse: Rinse thoroughly with a low-pressure water source, like a garden hose. High pressure can force water into areas where it shouldn’t be.
3. Drying
- Dry Surfaces: Using a microfiber towel, carefully dry all reachable surfaces. You may also use a blow dryer or a compressed air canister to reach tight spots.
- Run Engine: Let the engine run for a few minutes to evaporate the remaining water.
4. Detailing and Protecting
- Detailing: Use brushes and a suitable cleaner to clean smaller areas and parts, like the battery, fluid reservoirs, and valve covers.
- Protection: Apply a plastic or rubber protectant on appropriate surfaces to restore their color and sheen. Use a metal polish for any metallic parts.
- Check Fluids: While you’re in the engine bay, it’s a good time to check your fluid levels, including engine oil, transmission fluid, brake fluid, power steering fluid, coolant, and windshield washer fluid.
Remember, a clean engine bay is not just about aesthetics; it’s also about maintaining the heart of your vehicle. Regular detailing helps prevent rust, enhances the longevity of components, and can even boost your car’s resale value.
With this engine bay detailing checklist, you now have a comprehensive guide to detail your car from the inside out.
Professional Detailing Vs. DIY: Which One To Choose?
When it comes to car detailing, one question often arises is whether to do it yourself or hire a professional. Both options have pros and cons, and the choice depends on factors such as your budget, time availability, and comfort level with detailing tasks.
Let’s compare both options to help you make an informed decision:
DIY Car Detailing
Pros
- Cost-effective: Doing it yourself can be significantly cheaper than hiring a professional, as you only need to invest in the detailing products and tools.
- Convenience: You can detail your car at your own pace, at a time that suits you, without needing to book an appointment or drive to a detailing shop.
- Customization: You have full control over the products used and the areas you want to focus on.
- Satisfaction: A certain sense of accomplishment and pride comes with maintaining your own vehicle.
Cons
- Time-consuming: Detailing a car properly is a time-intensive process that can take up a significant portion of your day or weekend.
- Learning Curve: If you’re new to detailing, there’s a lot to learn about different products, tools, and techniques.
- Risk of Damage: Incorrect techniques or improper use of products can potentially damage your car’s surfaces.
2. Professional Car Detailing
Pros
- Experience and Expertise: Professional detailers have the knowledge and experience to clean and restore your car effectively and safely. They’re familiar with different materials and finishes and know the best techniques to use.
- High-quality Results: Professionals often use high-quality, commercial-grade products and tools that may not be readily available for consumers. This can result in a higher level of clean and shine than DIY methods.
- Time-saving: While your car is being detailed, you’re free to do other things. This can be particularly beneficial if you have a busy schedule.
Cons
- Cost: Professional detailing services can be quite expensive, especially for higher-end packages.
- Availability: You may need to book an appointment in advance, which might not always fit your schedule.
- Less Control: You don’t have direct control over the products and methods used.
If you enjoy hands-on work and have some spare time, DIY detailing can be a satisfying and cost-effective way to maintain your vehicle. On the other hand, if you want top-notch results and are willing to pay for convenience and expertise, professional detailing is the way to go.
Your choice should ultimately align with your needs, preferences, and lifestyle.
Detailing Frequency: How Often Should You Detail Your Car?
Understanding how frequently you should detail your car is key to maintaining its appearance and protecting its value. However, the frequency of detailing varies depending on several factors:
1. Usage
If you drive your car daily and cover long distances, it will likely need more frequent detailing compared to a vehicle used for short weekend drives. The more exposure your car has to road grime, bird droppings, UV rays, and other environmental factors, the more often it will need detailing.
2. Environmental Conditions
The environment in which you live and drive will impact your detailing schedule. For example, if you live in a place with harsh winters, where roads are frequently salted, you may want to detail your car at the beginning and end of the winter season to protect it from salt damage.
3. Parking and Storage
Cars parked outdoors or on the street are exposed to more contaminants, such as tree sap, bird droppings, and acid rain, compared to those parked indoors or in a garage. Hence, they may need more frequent detailing.
4. Personal Standards
Lastly, your personal standards play a significant role. If you’re someone who takes immense pride in their vehicle’s appearance, you may opt for more frequent detailing.
As a general guideline, a full detail (interior, exterior, and engine bay) is recommended at least twice a year – once in the spring to recover and clean winter grime and salt, and once in the fall to prepare the car for the harsh winter conditions.
In between these sessions, a mini-detail or maintenance detail every three months can help keep your car in top shape year-round.
Regular washing and quick interior clean-ups can also go a long way in keeping your car looking its best and will make the in-depth detailing sessions less demanding.
Car Detailing Tips and Tricks
Now that we’ve covered the in-depth process of car detailing, let’s explore some expert tips and tricks. These will make your job easier, enhance your results, and protect your car longer.
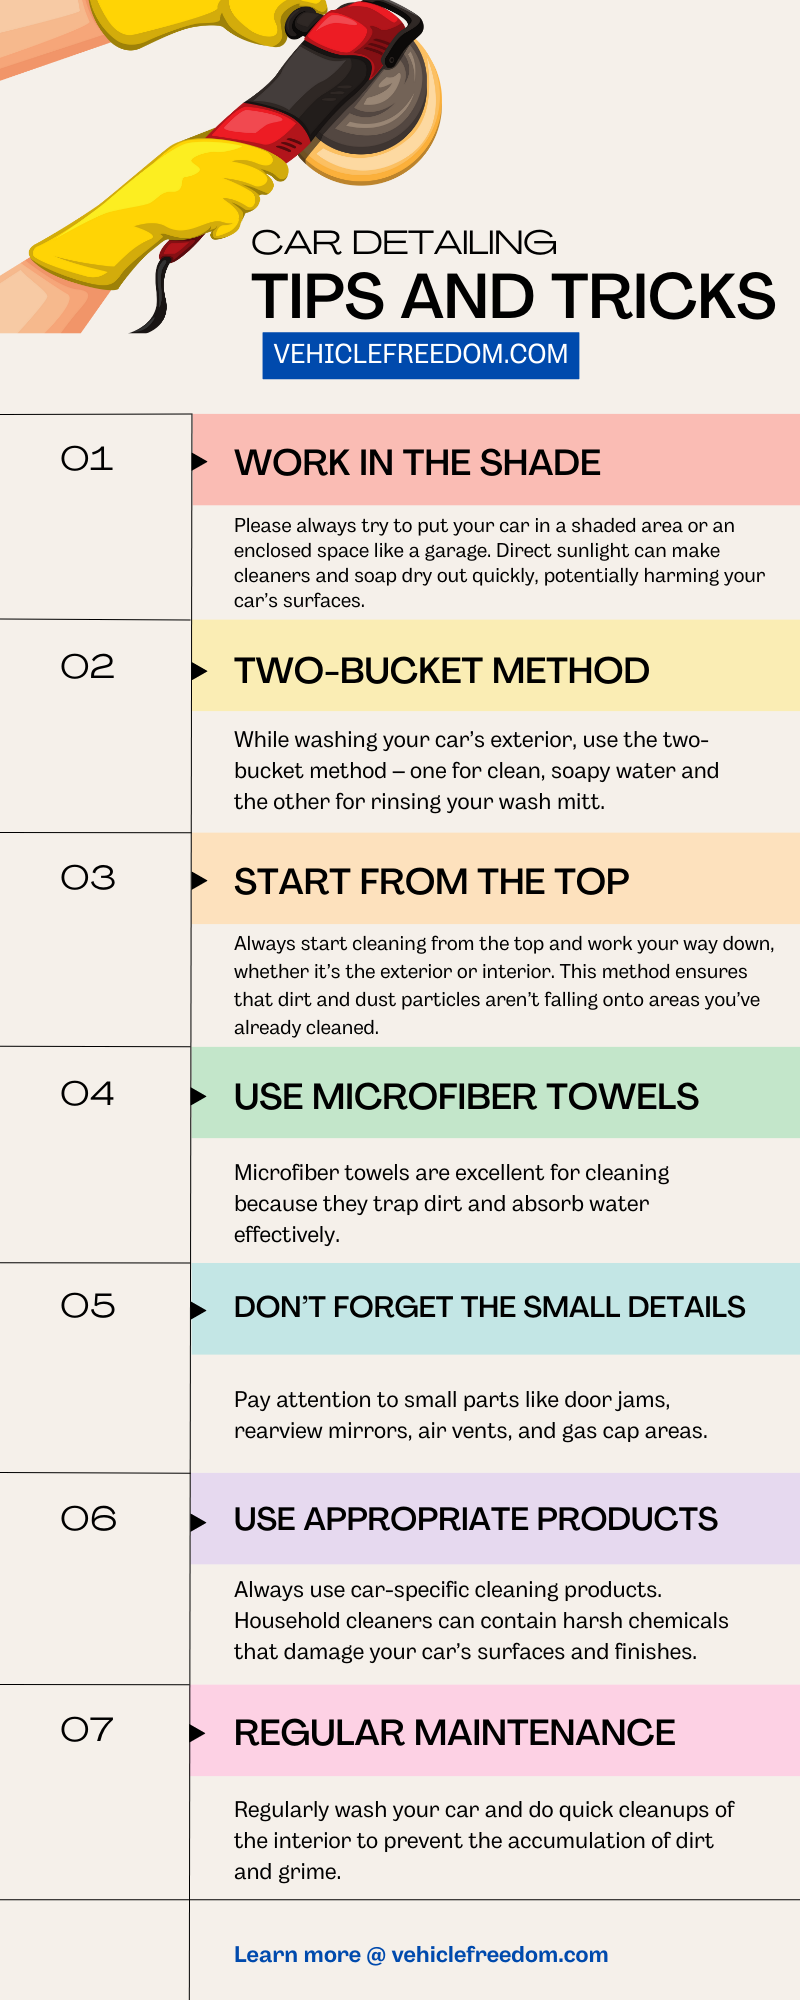
1. Work in the Shade
Always try to detail your car in a shaded area or an enclosed space like a garage. Direct sunlight can make cleaners and soap dry out quickly, potentially harming your car’s surfaces.
2. Two-Bucket Method
While washing your car’s exterior, use the two-bucket method – one for clean, soapy water and the other for rinsing your wash mitt. This will help prevent contamination and scratching of the car’s paint.
3. Start from the Top
Always start cleaning from the top and work your way down, whether it’s the exterior or interior. This method ensures that dirt and dust particles aren’t falling onto areas you’ve already cleaned.
4. Use Microfiber Towels
Microfiber towels are excellent for cleaning because they trap dirt and absorb water effectively. Plus, they are gentle on your car’s surfaces, reducing the risk of scratching.
5. Don’t Forget the Small Details
Pay attention to small parts like door jams, rearview mirrors, air vents, and gas cap areas. These small details can make a big difference in the overall appearance of your car.
6. Use Appropriate Products
Always use car-specific cleaning products. Household cleaners can contain harsh chemicals that can damage your car’s surfaces and finishes.
7. Regular Maintenance
Regularly wash your car and do quick cleanups of the interior to prevent the accumulation of dirt and grime. This will make your in-depth detailing sessions less frequent and more manageable.
8. Stay Organized
Keep your detailing supplies organized and within reach. This makes the process more efficient and helps prevent any accidental spills or mishaps.
Remember, detailing aims to preserve your car and keep it looking its best. By using these tips and following the detailed checklists provided, you’ll be well on your way to having a car that stands out on the road and provides a comfortable and clean environment for you and your passengers.
Wrapping it up
Car detailing is an extensive process that requires time, effort, and a keen eye for detail. From the moment you start cleaning your vehicle’s interior to the final polish of its exterior, each step in the detailing process plays a crucial role in maintaining your car’s appearance and preserving its value.
With this comprehensive guide in hand, you’re well-equipped to tackle the detailing process, whether you choose the DIY route or opt for professional services.
Remember, the key lies in knowing what to do and understanding why you’re doing it. It’s about giving your vehicle the care and attention it deserves to ensure it always looks and performs its best.
Maintaining regular detailing habits will help protect your investment and enhance your driving experience. So why wait? Grab your detailing supplies and give your car the spa day it deserves!