


In This Article Show
A flex plate, a key component of your vehicle’s transmission system, often doesn’t get the attention it deserves. Its primary role is to transfer power from the engine to the transmission, ensuring your vehicle operates smoothly. However, problems can arise when this essential piece of equipment is installed backwards.
Imagine being in a car that’s making strange noises, or feeling like the transmission just isn’t working as it should. You’ve probably been regularly maintaining your vehicle and can’t quite put your finger on what’s wrong.
One potential culprit could be a flex plate installed backwards.
Incorrect installation can lead to many issues, some of which can cause serious damage if not promptly addressed. But don’t worry, I’m here to guide you through diagnosing and fixing a backward-installed flex plate.
What is a Flex Plate and its Role in a Vehicle?
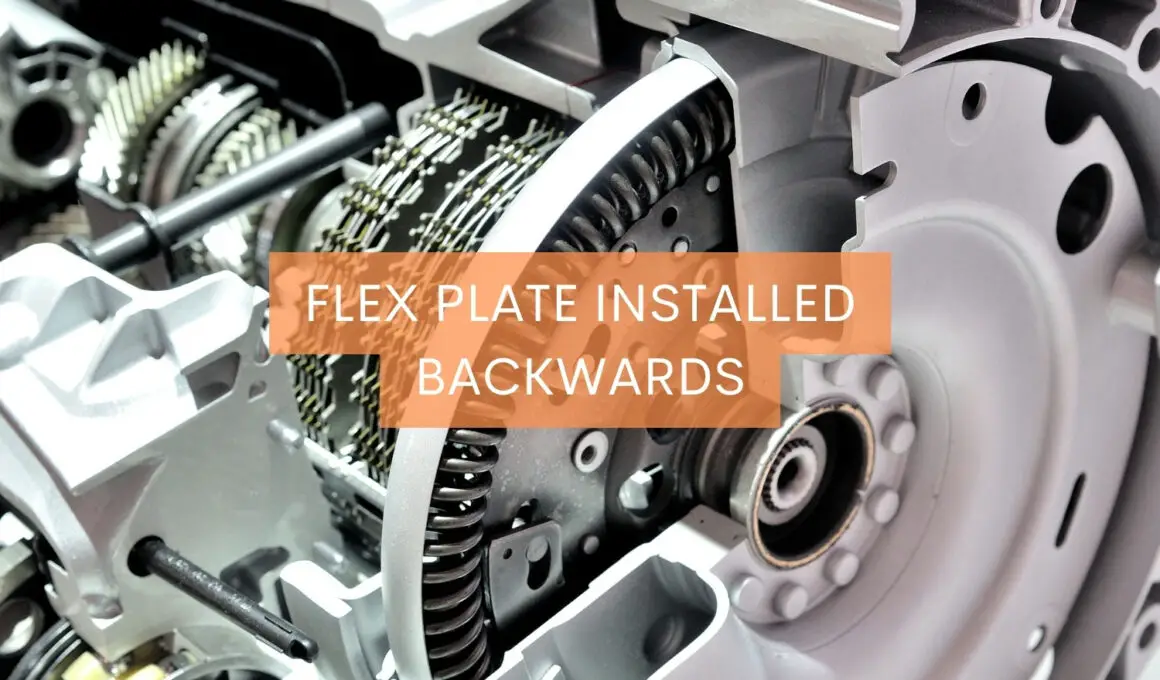
A flex plate, often an unsung hero in a vehicle’s mechanism, is a metal disc that forms a critical connection within your car’s machinery. It connects the engine’s crankshaft to the torque converter in an automatic transmission vehicle. In essence, the flex plate plays the role of a conduit, transmitting the rotational power generated by the engine to the transmission system, thus propelling your car forward.
However, its function doesn’t stop there. The flex plate also has teeth around its outer edge that the starter motor engages to crank the engine. So, when you turn the ignition key, the flex plate gets things rolling, quite literally!
While seemingly simple in design, the flex plate’s role is pivotal to your vehicle’s performance. An incorrectly installed or faulty flex plate can lead to numerous mechanical issues.
Misalignment, strange noises, irregular transmission function, or even inability to start the vehicle can all be symptoms of a flex plate installed backwards.
How to Identify a Backward-Installed Flex Plate
Being able to identify the symptoms of a backward-installed flex plate is crucial for diagnosing the problem. Here are some of the key signs and symptoms to look out for:
Noise-related Indicators
1. Strange Sounds
One of the most noticeable symptoms of a backward-installed flex plate is unusual noises coming from your vehicle. This could range from metallic knocking or rattling to consistent clicking noise. These noises are often more prominent when the vehicle is idling.
2. Grinding Noise During Startup
If you hear a grinding noise when starting the engine, it may be due to the teeth on the flex plate not aligning properly with the starter motor. This can occur when the flex plate is installed backward.
Performance-related Indicators
1. Transmission Problems
The flex plate plays a critical role in transmitting power from the engine to the transmission system. If installed backward, it can lead to transmission problems. These issues could manifest as erratic shifts or difficulty in changing gears.
2. Vibration
If you notice an unusual vibration while driving, particularly during acceleration, it may indicate an issue with the flex plate. When installed backward, the balance of the transmission system can be disturbed, causing vibrations.
3. Engine Start Issues
The starter motor relies on the flex plate to start the engine. A backward-installed flex plate can result in difficulty starting the engine or, in severe cases, the vehicle may not start at all.
Long-term Damages
If not addressed promptly, a backward-installed flex plate can lead to serious long-term damages. These could include wear and tear on the transmission system, damage to the starter motor, and in extreme cases, it could even lead to the engine and transmission system separating.
It’s essential to keep in mind that these symptoms could also be indicative of other vehicle problems. However, if you notice a combination of these signs, it might be worth checking the flex plate.

Diagnosing a Backward-Installed Flex Plate
It’s crucial to diagnose a backward-installed flex plate properly. Here are some steps and tools you’ll need to conduct the diagnosis:
Necessary Tools for Diagnosis
To diagnose a backward-installed flex plate, you will need:
- Jack and jack stands: To elevate the vehicle safely.
- Wrench set: For removing and reinstalling parts.
- Screwdriver: For prying or loosening components.
- Flashlight: To better visualize the flex plate.
Step-by-step Guide to Diagnosing a Flex Plate Installed Backwards
- Elevate the Vehicle: Use a jack to elevate your vehicle. Ensure that it is safely secured with jack stands before proceeding.
- Locate the Flex Plate: The flex plate is located between the engine and transmission. You may need to remove other components such as the starter motor to get a clear view.
- Inspect the Flex Plate: Using a flashlight, inspect the flex plate for any signs of damage, wear, or improper installation. Check whether the flex plate’s convex side faces the transmission, which is the correct position. If it faces the engine, it’s likely installed backwards.
- Check for Damage: Check the flex plate for cracks or warped areas while inspecting. These damages might occur due to a backward installation, adding to the problems.
Professional Diagnosis – When to Seek Help
While it’s possible to diagnose a backward-installed flex plate by yourself, the process can be challenging, especially if you’re unfamiliar with vehicle components.
If you’re uncomfortable performing these steps or unable to identify the issue, it’s best to seek professional help. A trained mechanic can diagnose and fix the issue accurately and safely.
How to Fix a Backward-Installed Flex Plate
Addressing a backward-installed flex plate is critical in resolving the various symptoms we’ve discussed. Here’s a detailed step-by-step guide on how to correct a backward-installed flex plate.
Precautions to Take Before Starting the Fix
Safety first! Ensure your vehicle is securely supported by jack stands. Disconnect the battery to avoid any accidental electrical shorts while working.
List of Tools Needed
For this fix, you’ll need:
- A set of wrenches and socket set: For removing and tightening bolts.
- Jack and jack stands: To safely elevate and support the vehicle.
- Torque wrench: To ensure bolts are tightened to the correct specifications.
- Flywheel holding tool: To keep the flex plate in place while working.
Step-by-Step Guide to Correcting a Backward-Installed Flex Plate
- Remove the Components: Begin by removing the components blocking access to the flex plate. This usually includes the starter motor and the transmission.
- Remove the Flex Plate: Once you have clear access, use a wrench to remove the bolts that secure the flex plate to the crankshaft. You might need a flywheel holding tool to keep the flex plate steady.
- Install the Flex Plate Correctly: Now, align the flex plate correctly. The convex side of the flex plate should be facing the transmission. Bolt it in place but do not fully tighten the bolts yet.
- Align the Transmission and the Flex Plate: Align the torque converter with the flex plate, ensuring the converter studs go through the correct holes in the flex plate.
- Tighten the Bolts: Once everything is aligned properly, use a torque wrench to tighten the bolts to the manufacturer’s recommended specification.
- Reinstall the Other Components: Finally, reinstall the transmission and any other components you initially removed. Ensure all bolts and connectors are secure.
Professional Assistance – When It’s Needed and How to Find It
This task can be quite complex and may require a decent amount of mechanical knowledge and skill. If you are unsure about any steps or uncomfortable performing this fix, it is highly recommended to seek professional assistance.
Many reputable mechanics and auto repair shops can perform this task quickly and efficiently.
Preventive Measures
Prevention is always better than cure, particularly when it comes to car maintenance. Let’s discuss some tips to prevent flex plate problems and maintain your vehicle’s optimal performance.
Tips for Correct Flex Plate Installation
- Check the Installation Direction: Always ensure the flex plate is installed correctly. The convex side should face the transmission. This is a common mistake that can lead to various complications.
- Use Proper Tools: Utilize the correct tools during installation. This simplifies the task and reduces the chance of damaging parts or installing them incorrectly.
- Follow Torque Specifications: Always follow the manufacturer’s recommended torque specifications when tightening the bolts. Over-tightening or under-tightening can lead to damage or incorrect installation.
Maintenance Tips to Avoid Flex Plate Problems
- Regular Checkups: Regularly inspect the flex plate and its surroundings for any signs of wear or damage. This could include cracks, warping, or excessive rust.
- Listen for Unusual Noises: Pay attention to any unusual noises from your vehicle, particularly those originating from the transmission area. This could indicate a problem with the flex plate.
- Professional Inspections: If you’re uncomfortable inspecting the flex plate, schedule regular checkups with a professional mechanic. They can spot potential issues that might be overlooked otherwise.
Importance of Regular Vehicle Check-ups
Regular vehicle check-ups are key to maintaining its overall health and preventing future problems. They allow for early detection of potential issues, including those with the flex plate, and can save time, money, and stress in the long run.
Wrapping it up
Understanding the mechanics of a flex plate, especially its installation, is crucial to ensuring your vehicle’s optimal performance.
An improperly installed flex plate can lead to a host of complications, ranging from strange noises to severe transmission issues. But with the right knowledge, tools, and a little patience, diagnosing and fixing a backward-installed flex plate is within your grasp.
Remember, the symptoms we’ve discussed might also indicate other problems, so a thorough investigation is necessary before jumping to conclusions. And when in doubt, don’t hesitate to seek professional assistance.