


In This Article Show
Understanding your vehicle’s braking system’s ins and outs can feel like learning a foreign language in the complex automotive maintenance and repair world. But fear not; I’m here to help.
With over 13 years of hands-on mechanic experience tucked under my belt and countless hours dedicated to educating others through blog posts, I aim to demystify one specific aspect today: where do the clips go on brake pads?
The brake system is a vital part of any vehicle, ensuring your safety and the safety of others on the road. One minor component that plays a significant role in this system is the brake pad clip. It may seem small and insignificant, but improperly placed brake pad clips can lead to problems that can degrade your vehicle’s performance or compromise your safety.
This post will delve into the intricacies of brake pad clips: what they are, their roles, where they should be placed, and how to correctly install them.
Understanding Your Brake System
Your vehicle’s braking system is an intricate network of various components working together to ensure your safety. It’s like a beautifully orchestrated symphony, where every part plays its own unique role.
While understanding all these parts may seem a bit intimidating, it’s crucial to your vehicle’s smooth operation and safety.
So, what exactly are brake pads? Brake pads are essential components that create friction against the brake rotor, helping to slow down or stop your vehicle. It’s like the soles of your shoes against a slick surface, helping you come to a halt without slipping.
In essence, they’re a barrier between your brake calipers and rotors.
Now, where do brake pad clips fit into this puzzle? Often overlooked, these tiny metal pieces play a significant role in the overall performance of your brake system. They help keep the brake pads in place, reducing vibration and noise and preventing premature wear.
Brake Pad Clips: What Are They?
Having your hands dirty under the hood for over a decade gives you a profound understanding of even the smallest components in a vehicle. One such often underestimated yet vital part is the brake pad clip.
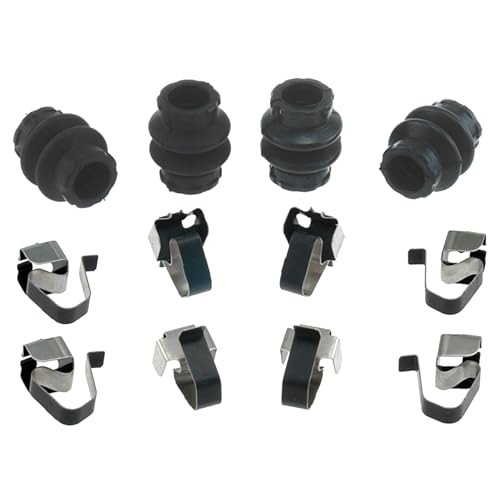
Brake pad clips, also known as anti-rattle clips, are small metal pieces designed to keep your brake pads secure, reduce vibration, and reduce noise when braking.
They fit between the brake pads and the calipers, holding them firmly in place while allowing for smooth, consistent movement when you apply the brakes. This helps ensure efficient, quiet, and effective braking.
The types of brake pad clips can vary depending on your vehicle type and brake system. The most common types include pad retention clips, anti-rattle clips, and shim clips. While their specific designs might differ slightly, their primary role remains to secure the brake pads and ensure optimal braking performance.
Locating the Clips on Brake Pads
One of the first steps before installing or replacing your brake pad clips is knowing where they are located. Let’s unravel this mystery together.
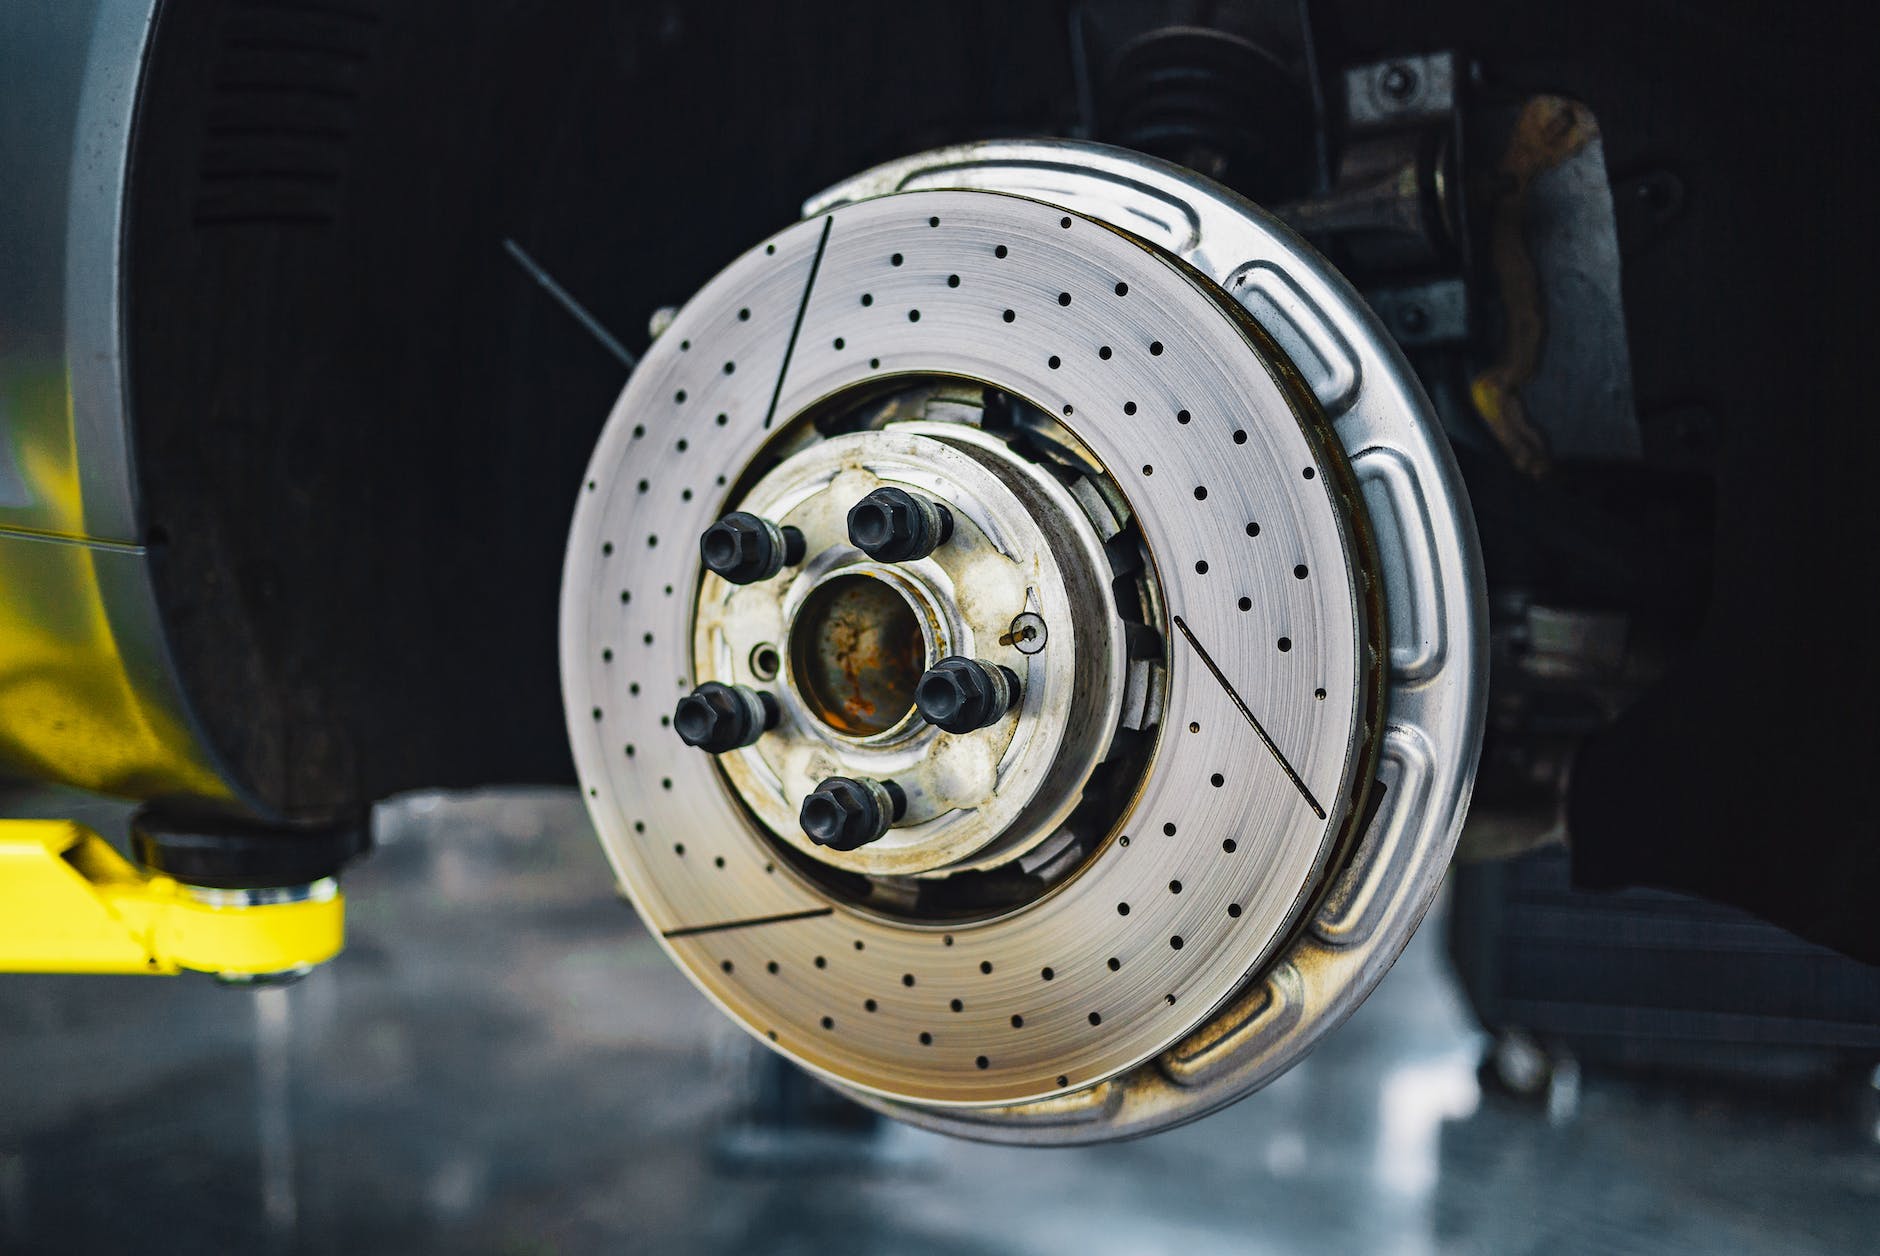
Typically, brake pad clips are found nestled between the brake pads and the brake calipers. To locate them, you must remove your vehicle’s wheel safely. After removing the wheel, the brake rotor, caliper, and brake pads will be visible. The clips should be attached to the brake caliper and hold the brake pads in place.
However, identifying these clips can sometimes be challenging due to their small size and the various parts in the brake assembly. They may not stand out at first glance, especially if they’re covered in brake dust or grime.
A word of caution here: if you’re not comfortable or familiar with removing and replacing vehicle components, it might be best to seek help from a professional. Working with the brake system can be dangerous if not done correctly.
Step-by-Step Guide: Installing Brake Pad Clips
Now that you know where to find the brake pad clips, let’s delve into how to correctly install them. A properly done job will ensure optimal brake performance and prolong the lifespan of your brake pads.
Please remember: if you’re not confident about any of these steps, do not hesitate to seek help from a professional. Safety is paramount when it comes to working with your vehicle’s braking system.
Tools Needed:
- New Brake Pad Clips
- Brake Cleaner
- Cloth or Rag
- Mechanic Gloves
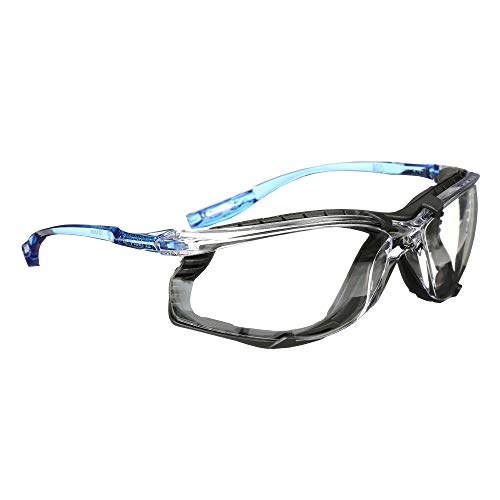
- Safety Glasses.


Installation Process:
1. Remove the Old Clips
Take off the old clips after safely removing the wheel and exposing the brake assembly. They should come off easily, but a small flat-head screwdriver might be necessary to pry them loose if they’re stuck.
2. Clean the Area
Once the old clips are removed, use brake cleaner and a rag. This step ensures no dirt or grime interferes with the installation of the new clips.
3. Install the New Clips
Now it’s time to install the new brake pad clips. They should snap into place on the caliper bracket. Make sure they’re secure and flush against the bracket.
4. Reinstall the Brake Pads and Assembly
With the new clips installed, you can reinstall the brake pads and the rest of the assembly. Ensure everything is snug and secure.
5. Repeat for the Other Wheels
Don’t forget to replace the clips on all your wheels. An evenly functioning brake system is key to safe driving.
And voila! You’ve successfully installed new brake pad clips. With these steps, you can now maintain a crucial part of your vehicle’s brake system, ensuring quieter, smoother, and safer drives.
Signs of Incorrectly Installed Brake Pad Clips
Proper installation of brake pad clips is crucial for the optimal functioning of your brake system. However, mistakes can happen, especially if you’re new to DIY auto repairs. Here are some common signs that your brake pad clips might not be correctly installed:
1. Unusual Noise
If you start hearing a high-pitched squealing or rattling noise when you apply the brakes, this could indicate that the clips are not properly installed. They may be loose or improperly positioned, causing the brake pads to vibrate excessively.
2. Reduced Braking Efficiency
If your vehicle takes longer to stop or the brakes feel less responsive than usual, it may be due to incorrectly installed clips. The brake pads might be unable to make proper contact with the rotors, leading to reduced braking efficiency.
3. Premature Brake Pad Wear
Incorrectly installed brake pad clips can lead to uneven or accelerated brake pad wear. If you notice that your brake pads are wearing out more quickly than they should, the clips might be to blame.
4. Vehicle Pulling to One Side
If your vehicle pulls to one side when braking, it could be a sign of uneven brake pad wear due to faulty clip installation.
Remember, your safety is paramount. If you notice any of these signs and aren’t comfortable rectifying the issue yourself, don’t hesitate to seek professional help. The health of your brake system is not something to be taken lightly.
Wrapping it up
Understanding your vehicle’s brake system, down to the smallest components like brake pad clips, can be daunting. But with this comprehensive guide, I hope you now have a clearer picture of what brake pad clips are, their location, and how to install them correctly.
As I often reiterate, the braking system is the unsung hero of your vehicle’s safety.
So, whether you are an automotive DIY enthusiast or a car owner interested in understanding your vehicle’s inner workings, the importance of these little clips should not be underestimated.